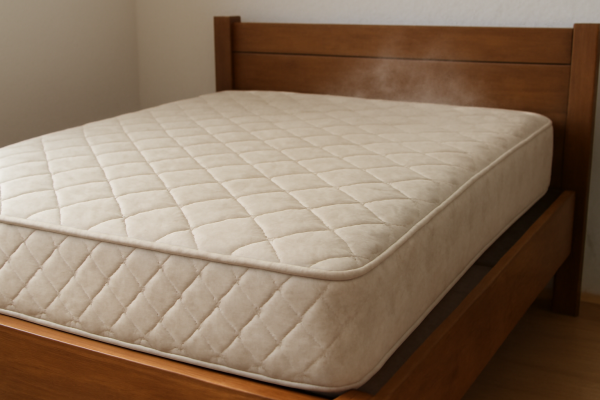
If you haven’t cleaned your mattress in a while, you should probably sit down first before reading these medical facts:
- In 2015, 421 Australians died from asthma. Back in 2013, the death count was just 389. Go back further and you can observe a slow but steady rise in asthma-related deaths in recent years.
- Sydney and Melbourne are considered to be hot spots for dust mite infestations that can either trigger or worsen asthma; the little buggers especially like warm, humid environments like a dirty mattress that hasn’t been washed in years – a potential food-rich home for up to 10 million asthma-triggering dust mites.
- Apart from dust mites, dirty mattresses have also been found to contain up to 16 million CFUs or colony-forming units of various types of bacteria that can: cause pneumonia and food poisoning, as well as trigger and exacerbate asthma, eczema, other skin allergies, and even antibiotic-resistant infections.
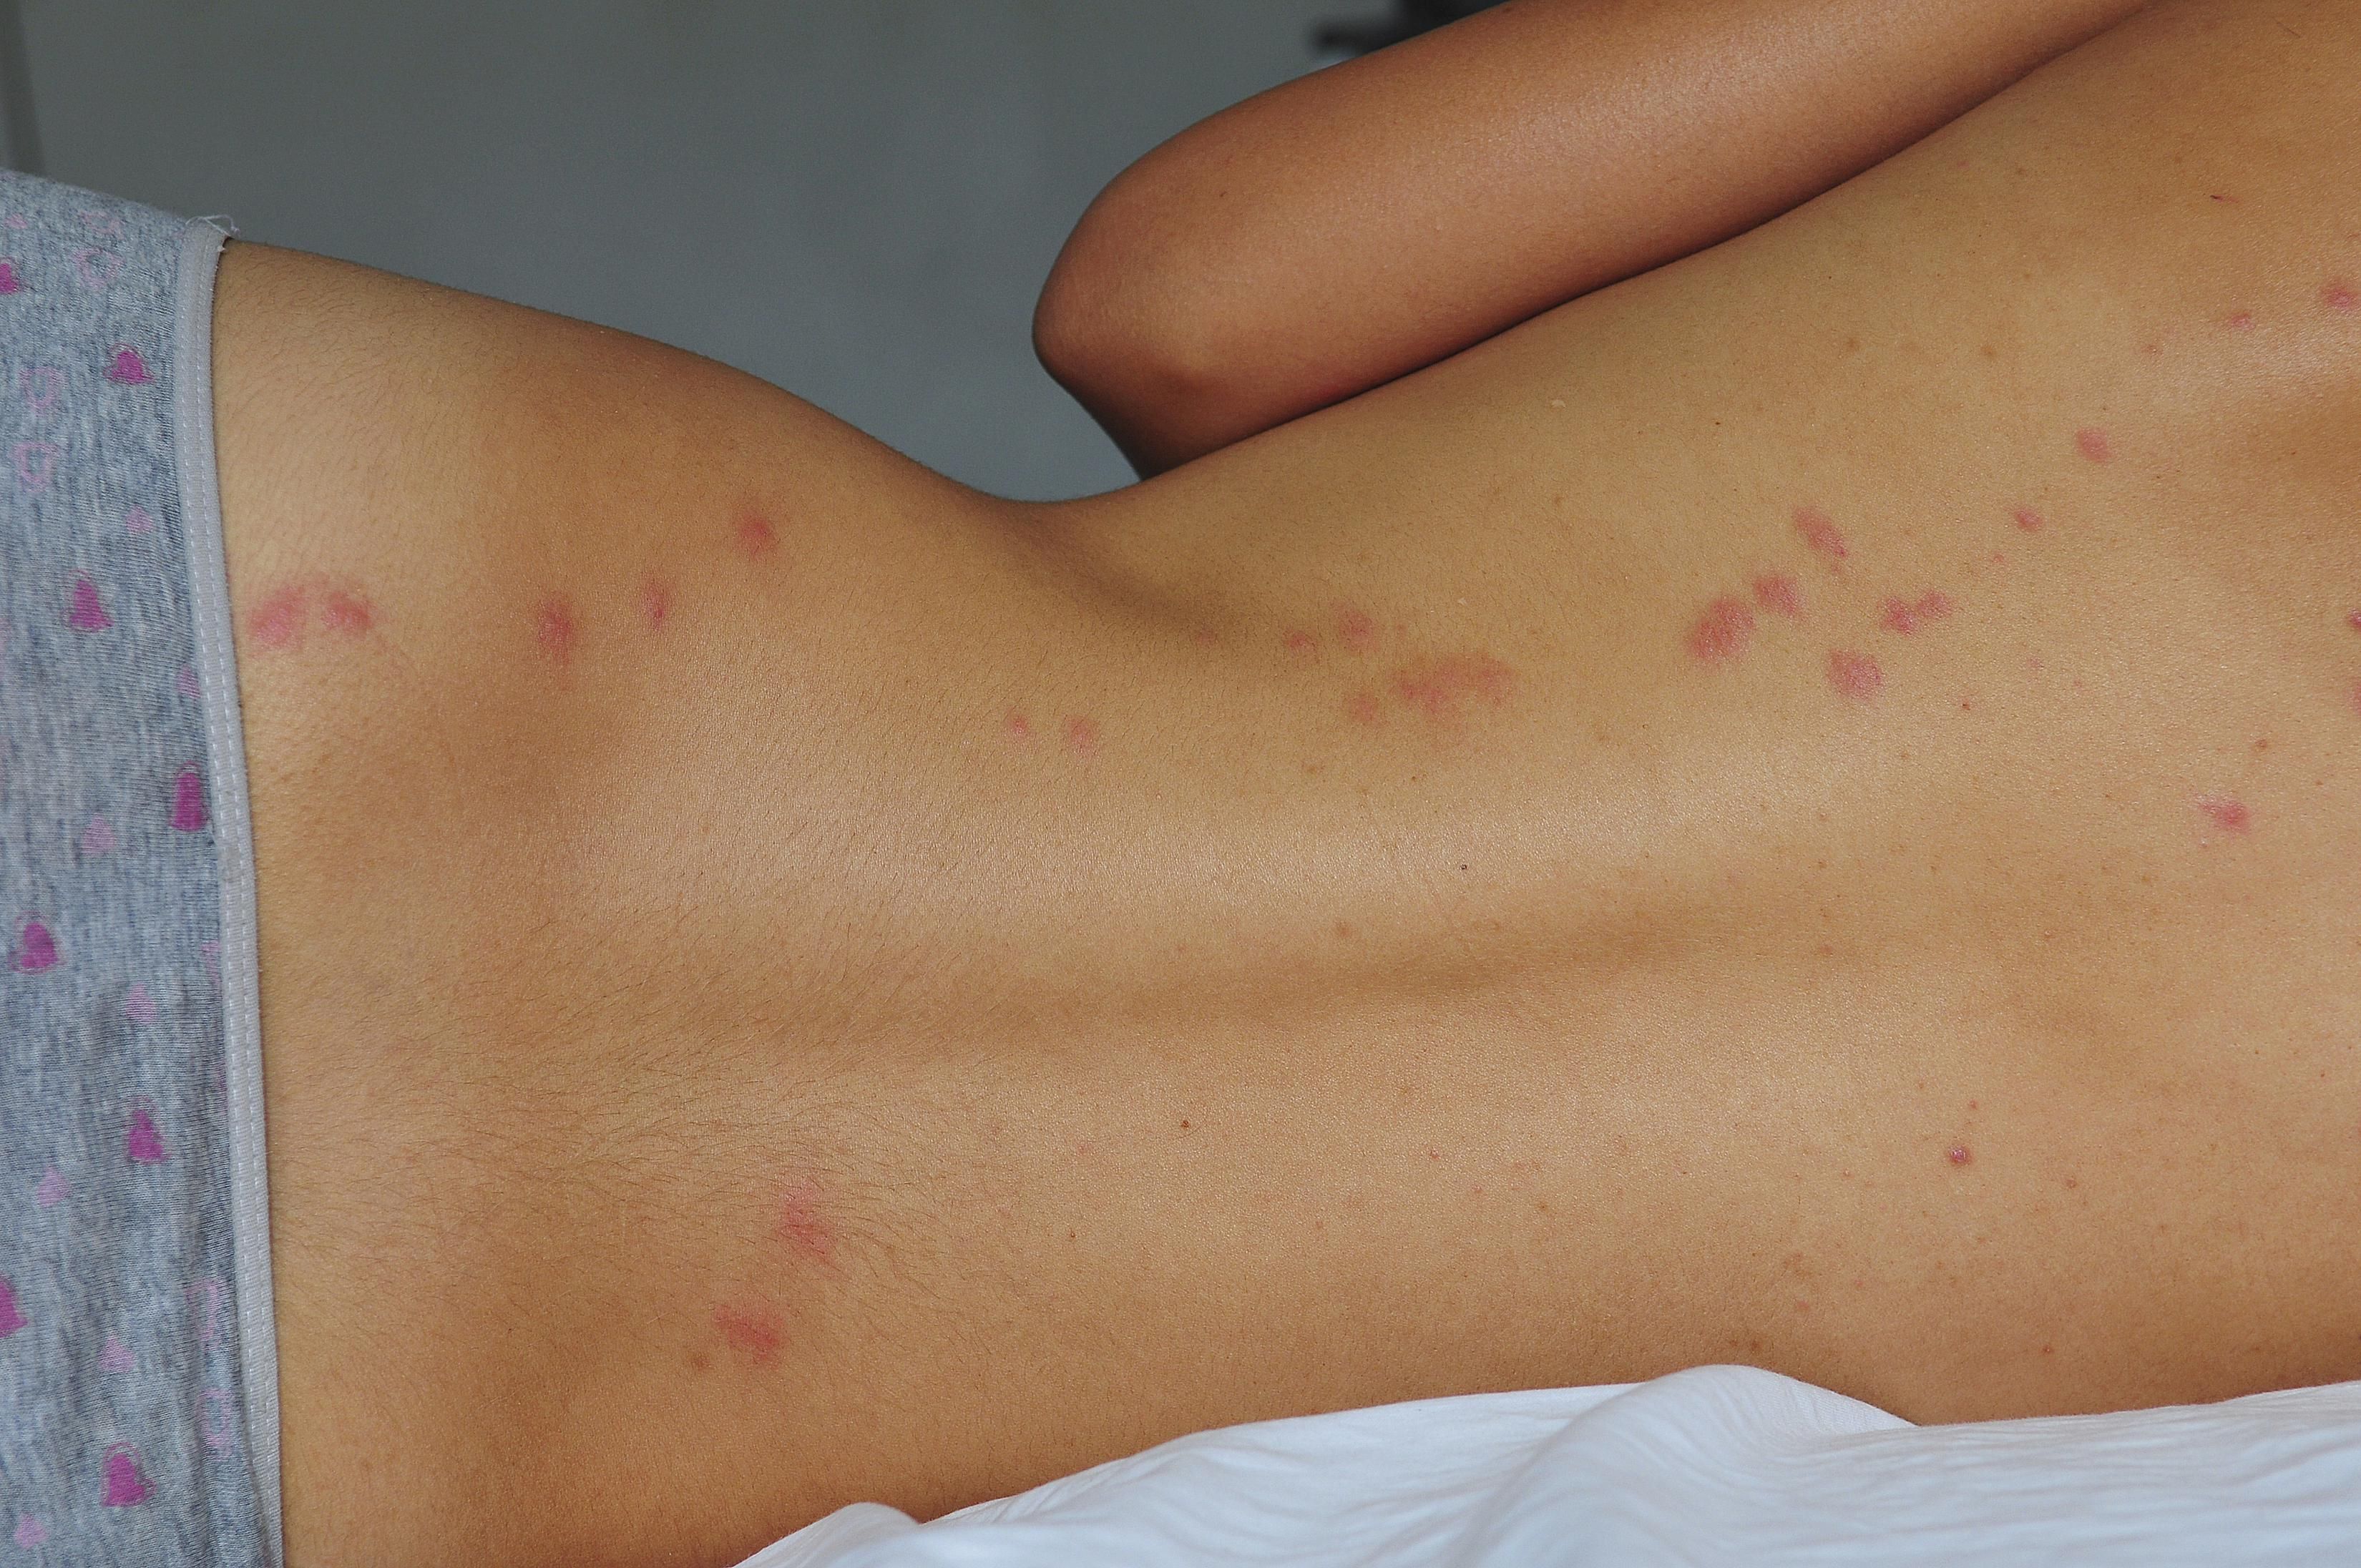
And you thought the smell was the worst thing about your unwashed mattress.
If you or a member of your family is one of the over 2 million (or 1 out of 10) Australians who have asthma, don’t go off the rocker just yet.
Likewise, if your family is part of the 45% of the entire Australian population who suffer from allergies (80% of which are dust mite-related), there’s still no reason to panic.
As the old saying goes, prevention is better than any cure.
And one of the best ways to prevent triggering and/or exacerbating the abovementioned diseases is by simply learning how to properly clean your mattress and stop it from becoming a health hazard.
Dirty mattresses are a serious matter, which is why we crafted an even more serious and comprehensive mattress cleaning guide that covers everything you need to know about the bloody topic so you can get down to some hard yakka.
I. 7 BONZER MATTRESS CLEANING TIPS and FACTS (Before You Get Started)
1. Identify the Culprit: Stain, Odor, Bed Bugs, or Dust Mites?
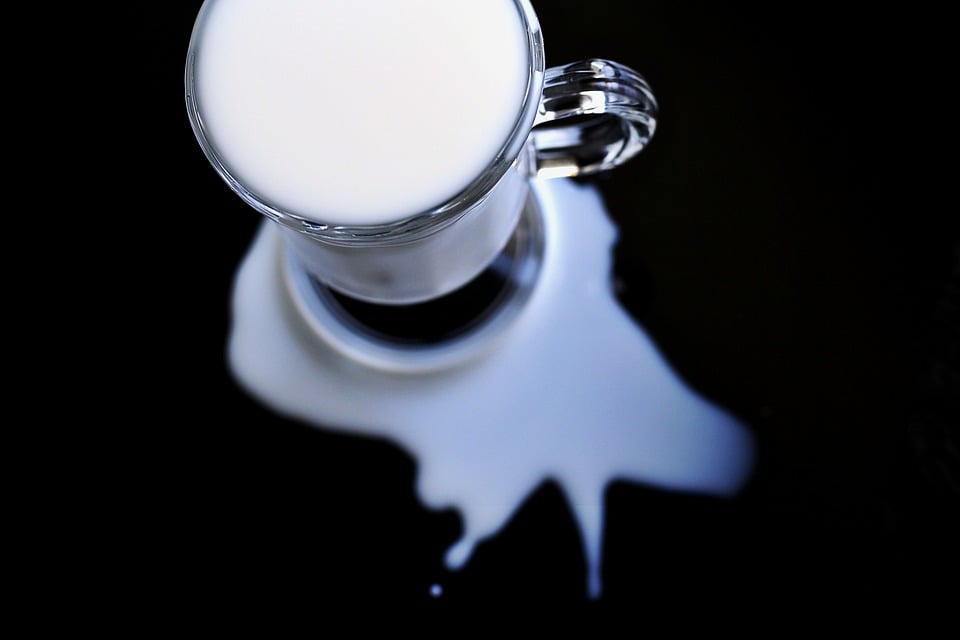
Why are you on this guide in the first place? Did you spill juice, milk, or oil on the mattress? Or perhaps your mattress is starting to give off a distinct and potent aroma. Do you suspect that your mattress is infested with either bed bugs or dust mites? Narrowing down the problem will allow you to narrow down what needs to be done.
2. Isolate the Problem: Is it the Mattress itself, the Mattress Topper, the Cover, or the Bed Sheets?
Whatever the problem is, chances are, not all parts of your bed are affected. And before a spill, odor, or pest infestation spreads, you need to isolate it. Strip your bed naked if need be – down to the bare mattress. This also allows you to better assess what kind of cleaning needs to be done.
3. Bicarbonate of Soda is Your Mattress’ Best Friend.
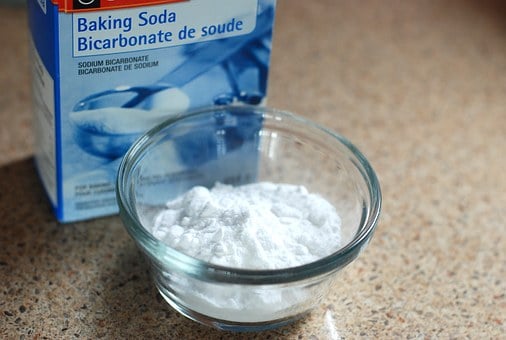
Baking Soda, Bicarbonate of Soda, and Sodium Bicarbonate are different names for the same active ingredient: a white, crystalline powder with plenty of cleaning applications. And it’s been around since 3500 BC; natron is a rudimentary but effective version of baking soda that was used in ancient Egypt for cleaning purposes. It was also used to completely dehydrate bodies during mummification. (If you’re eating as your read this, our apologies!) Today, it’s mostly useful as an all-around household cleanser and deodorizer.
4. Moisture is Your Mattress’ Worst Enemy.
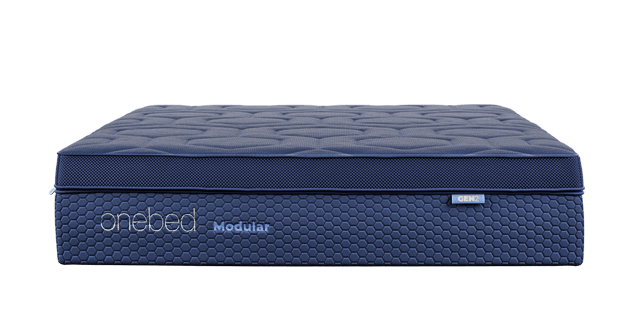
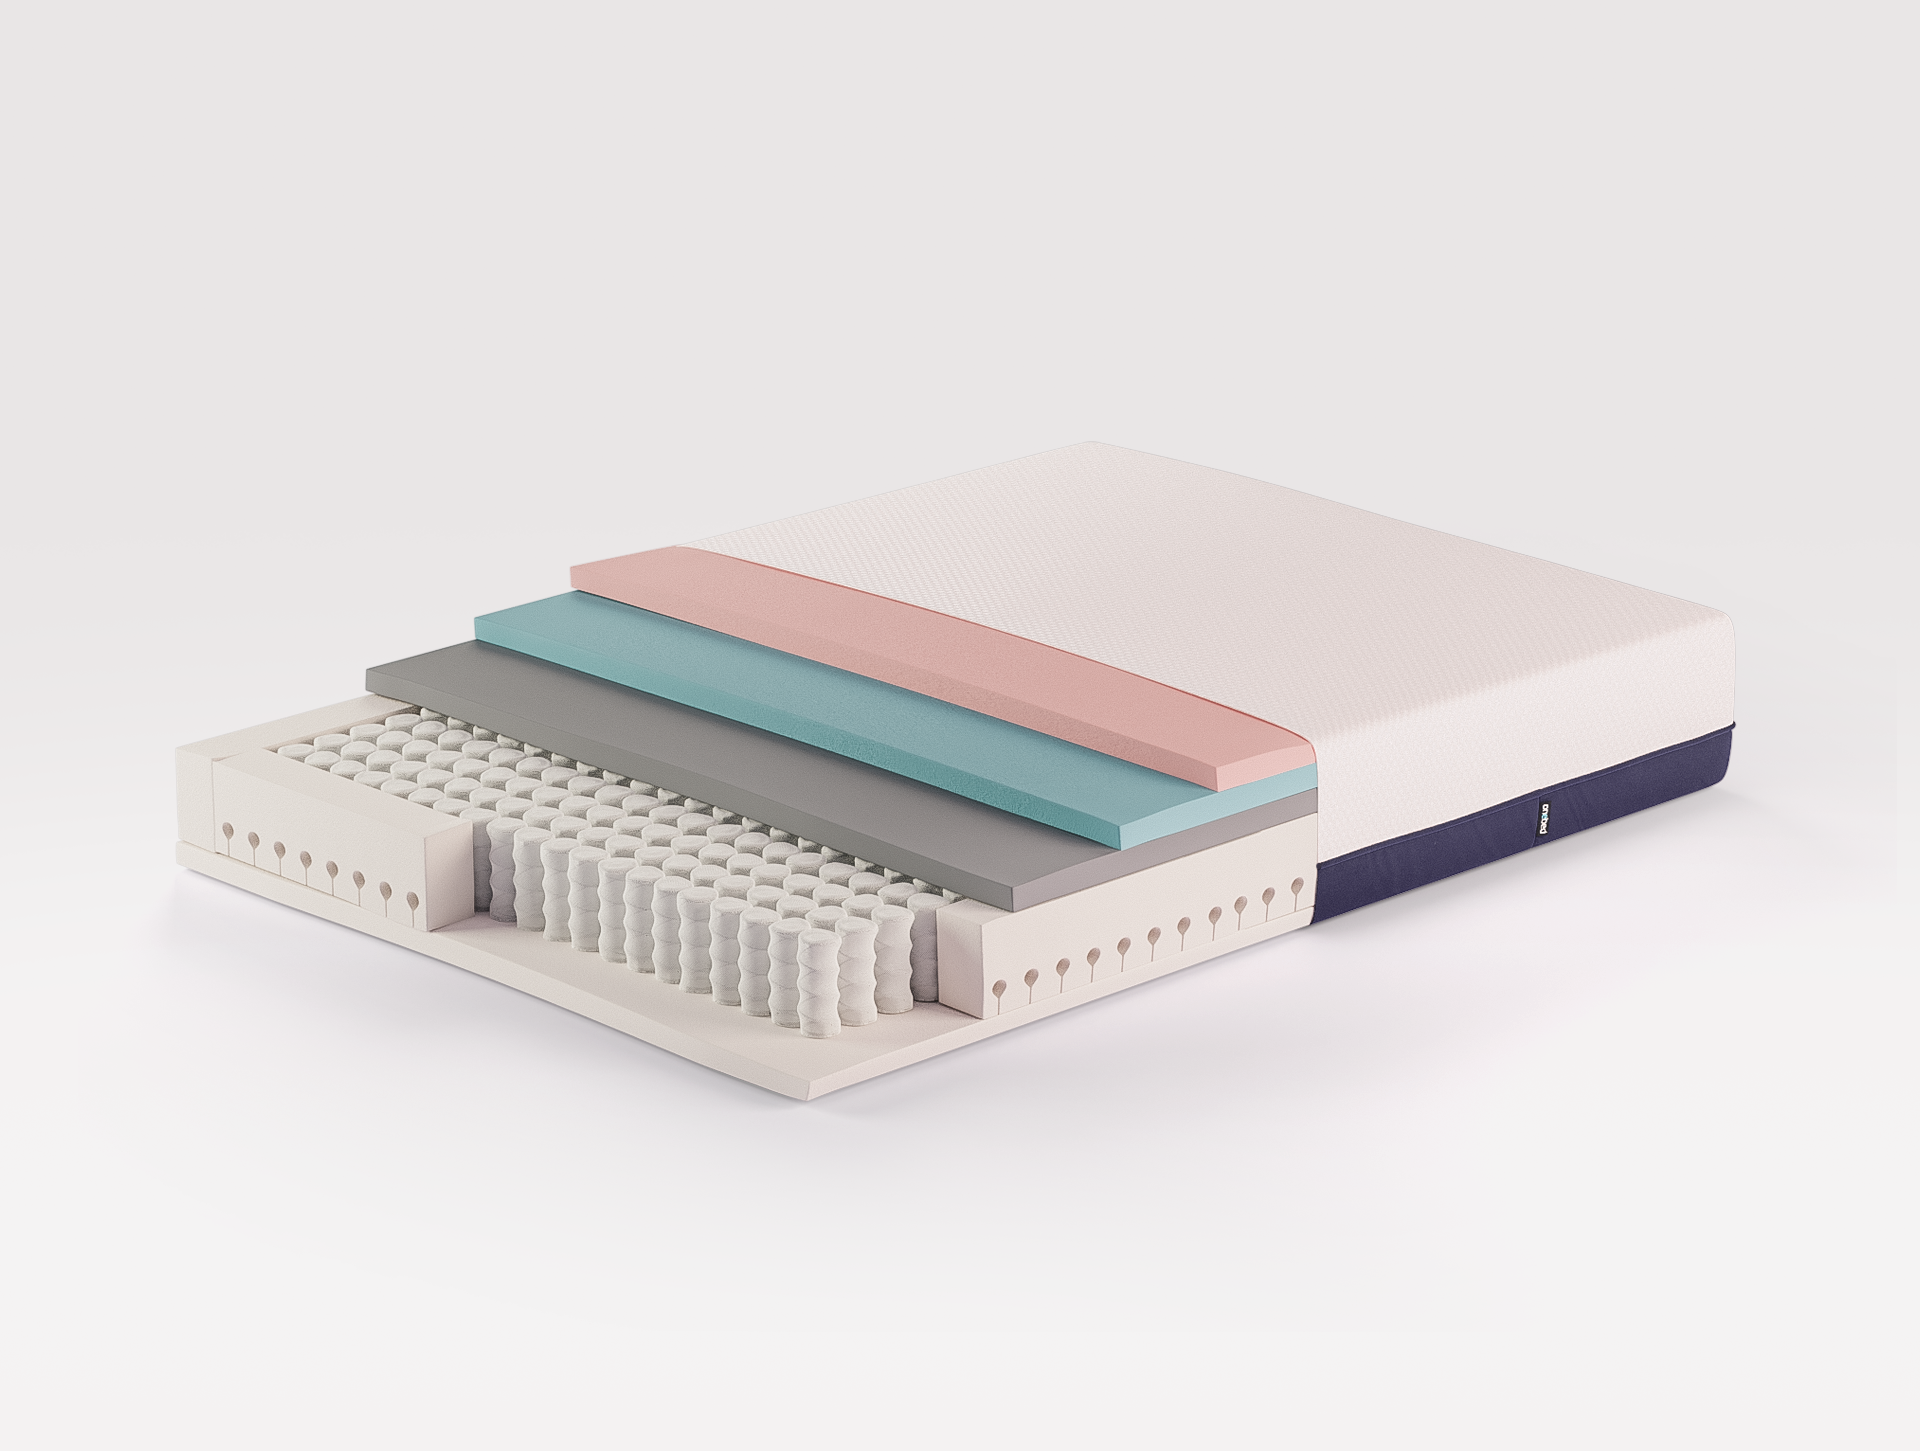
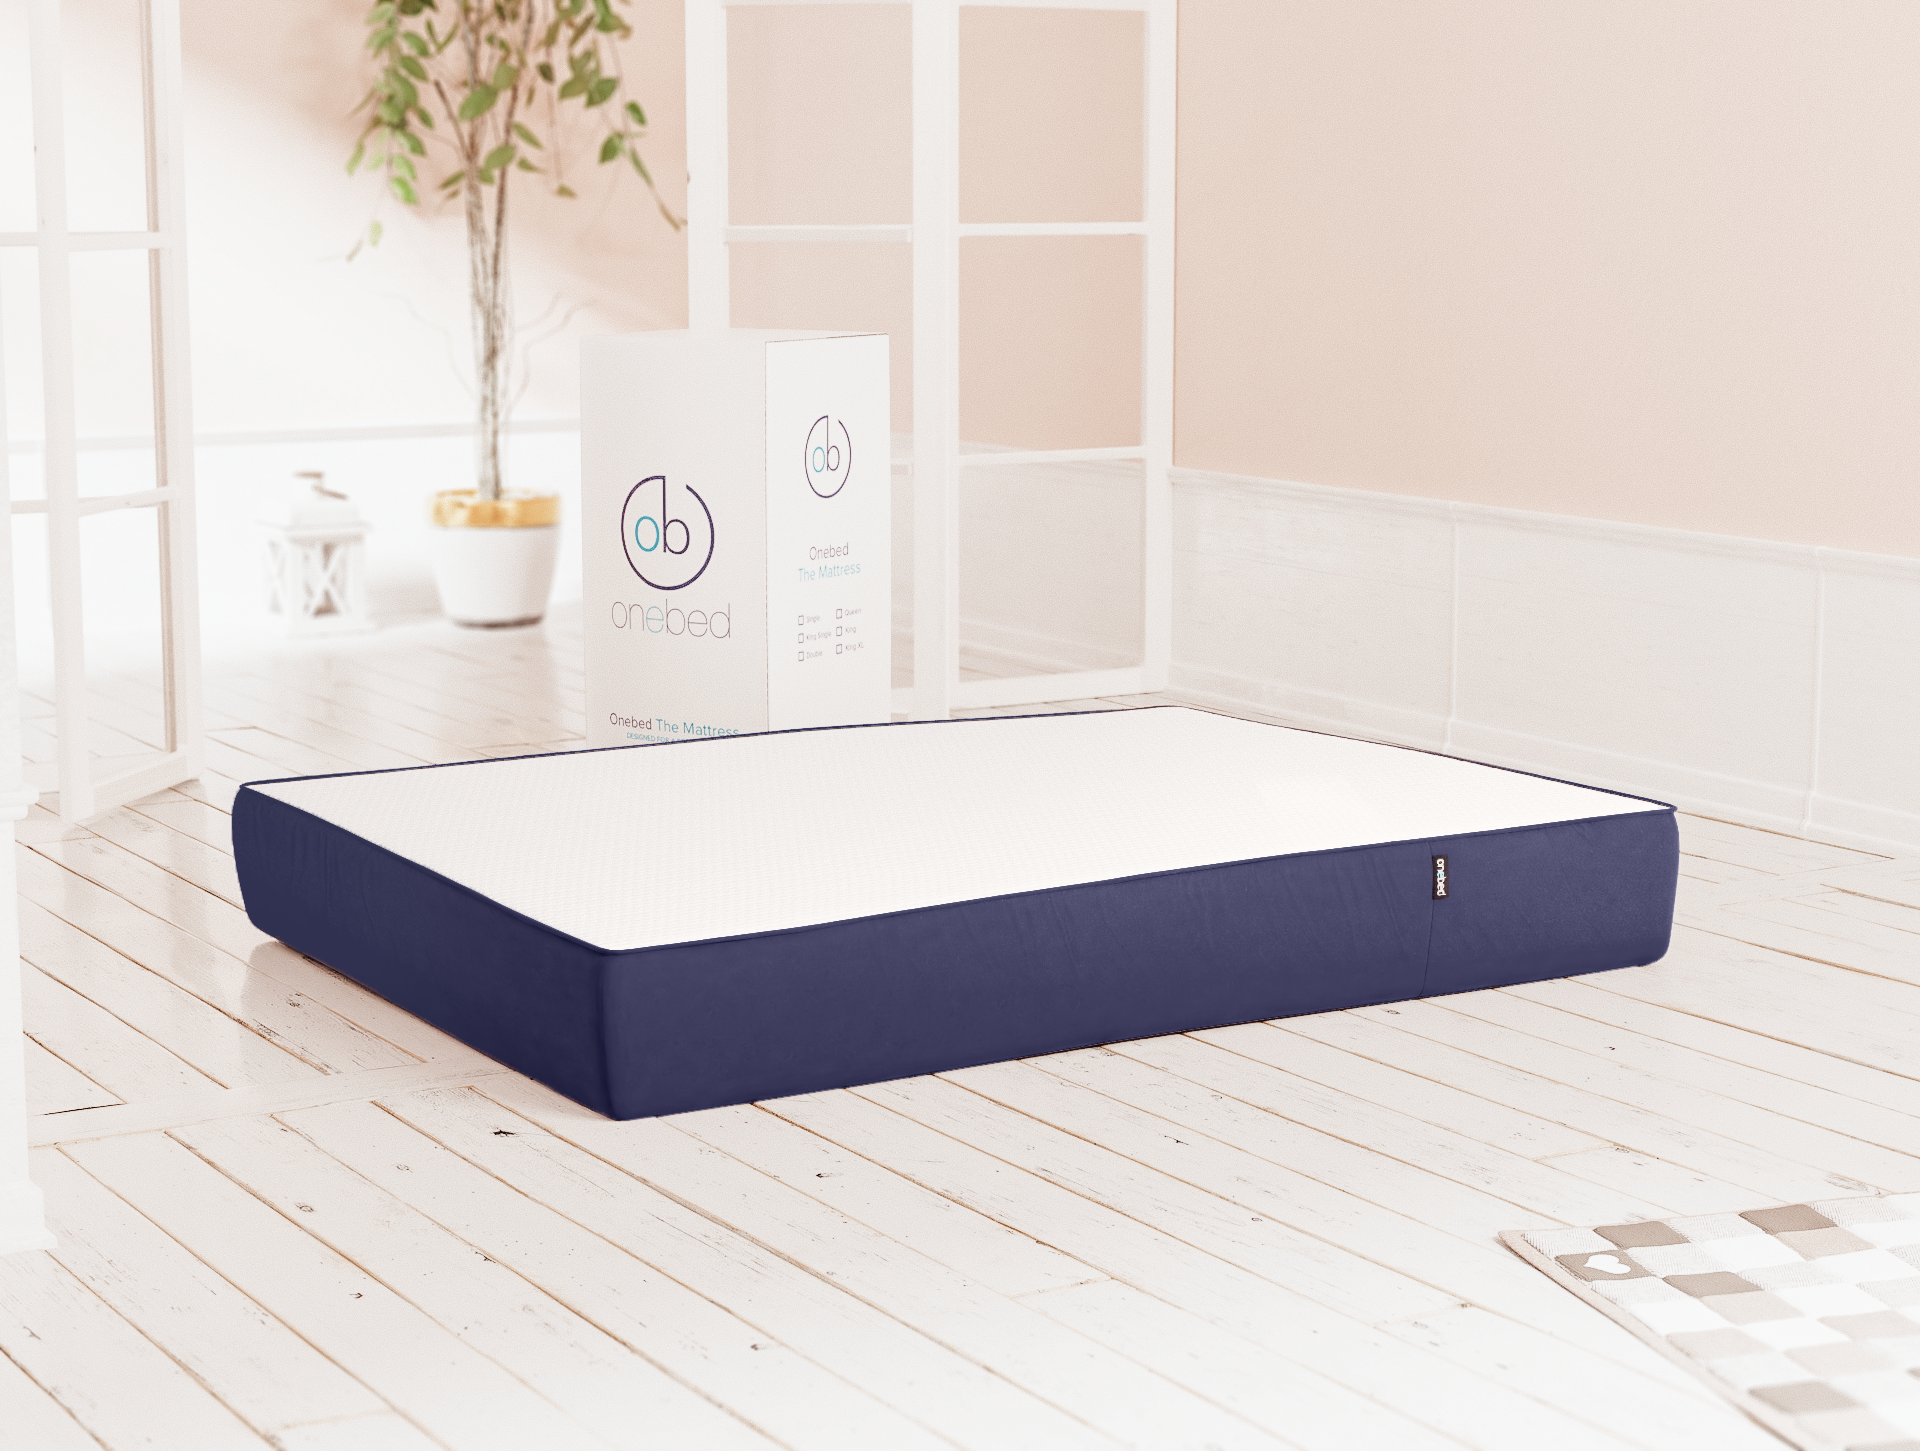
No foam or spring mattress in the world is designed to get wet, even Onebed. If you soak a mattress in water, it’s going to take a very long time until it completely dries. And if even just a smidge of moisture is left inside the mattress, that could be enough for mold, mildew, dust mites, and bacteria to thrive on, eventually turning your comfy bed into a household health hazard. Avoid this by using as little water as possible. And if you opt for steam-cleaning or other methods that involve plenty of water, take the right steps to ensure that the mattress gets completely dry.
5. Why Vacuum / How to Clean Your Vacuum Cleaner:
A 2012 study shows that regularly vacuuming your mattress significantly reduces not just dust mite allergens, but also bacterial endotoxins and other foreign matter that can pose serious health risks. Vacuuming also uses no water = zero risk of your mattress developing mold or bacteria. Of course, before you even get to work, you need to first ensure that your vacuum cleaner itself is clean as a whistle. The last thing you want is to freshly stain your mattress by ‘cleaning’ it with a dirty vacuum cleaner.
- Even if it looks clean, wipe your vacuum cleaner down with a clean rug and some rubbing alcohol; don’t stop on the outside.
- Ensure that the filter is clean. In case of tough-caked up dirt, clean the filter with detergent or dishwashing liquid and water. Replace filter if necessary.
- Ensure that the canister is empty of any and all dirt. Replace used-up canisters if necessary.
- Ensure that the upholstery attachment is clean and functional. A used toothbrush can clean up stubborn nooks and crannies.
- Pick out all hair strands, fibers, and all foreign matter.
- If you had to use soap and water, wipe down all wet vacuum parts and air them out for a couple hours before reassembling your vacuum.
- How to Vacuum Your Mattress (quick link to Chapter 5’s SPRINKLE BAKING SODA and VACUUM YOUR MATTRESS)
6. Consult Mattress Tags, User Manuals, or Your Manufacturer:
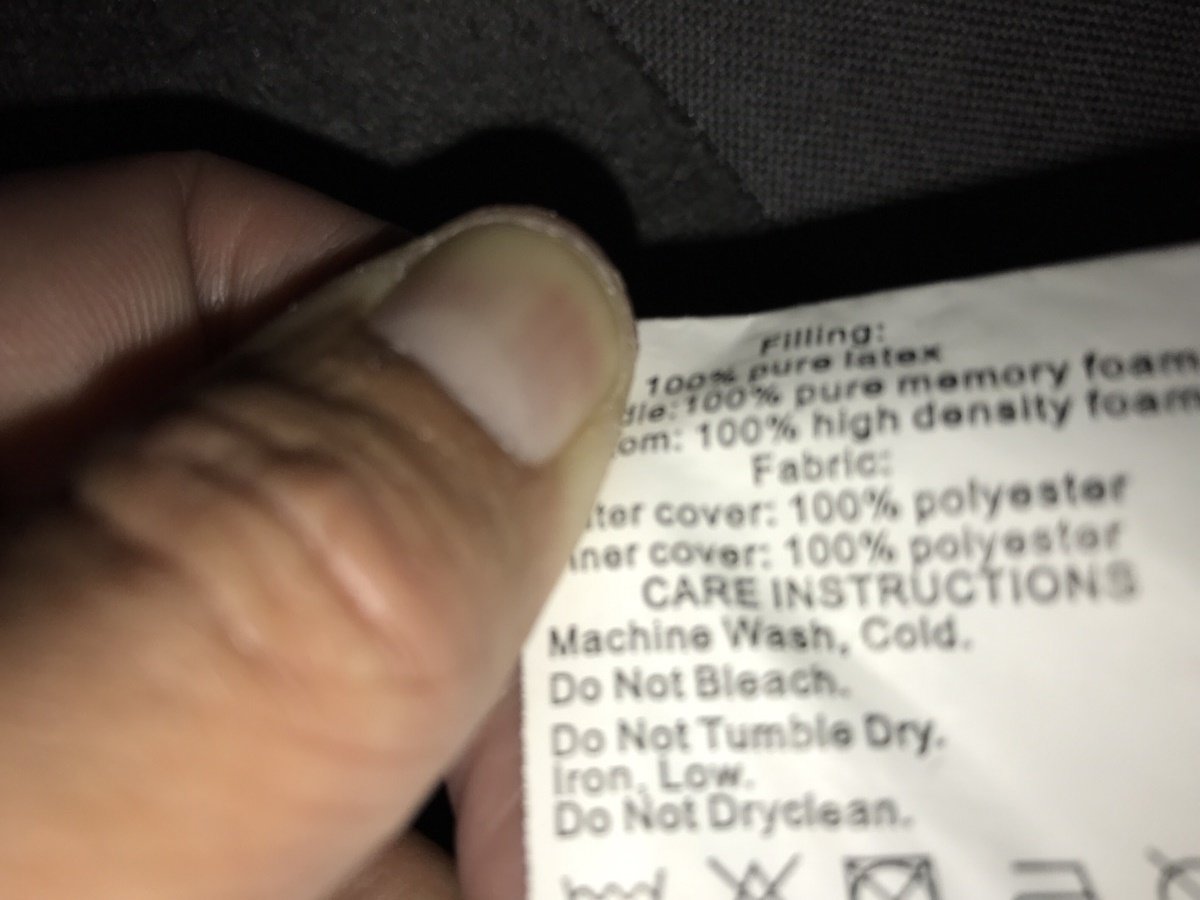
Sheets, mattress toppers, and mattresses sometimes come with tags and user manuals that include specific cleaning instructions. If not, contact your mattress’ manufacturer for advice. If you have a Onebed at home, these instructions are attached to its tag.
7. Steam-Cleaning is Optional:
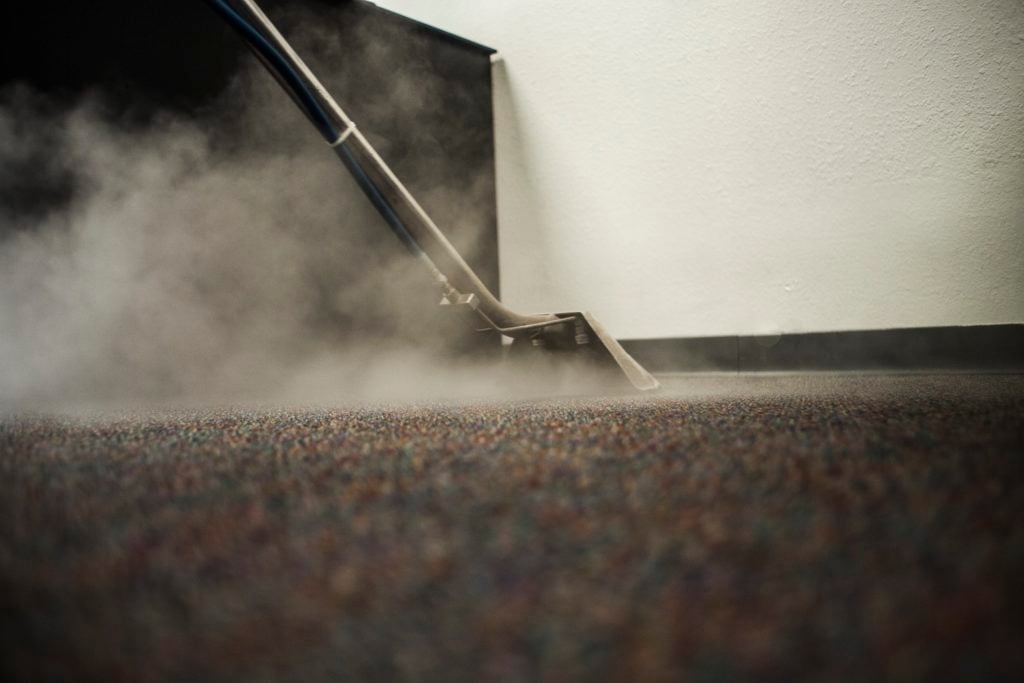
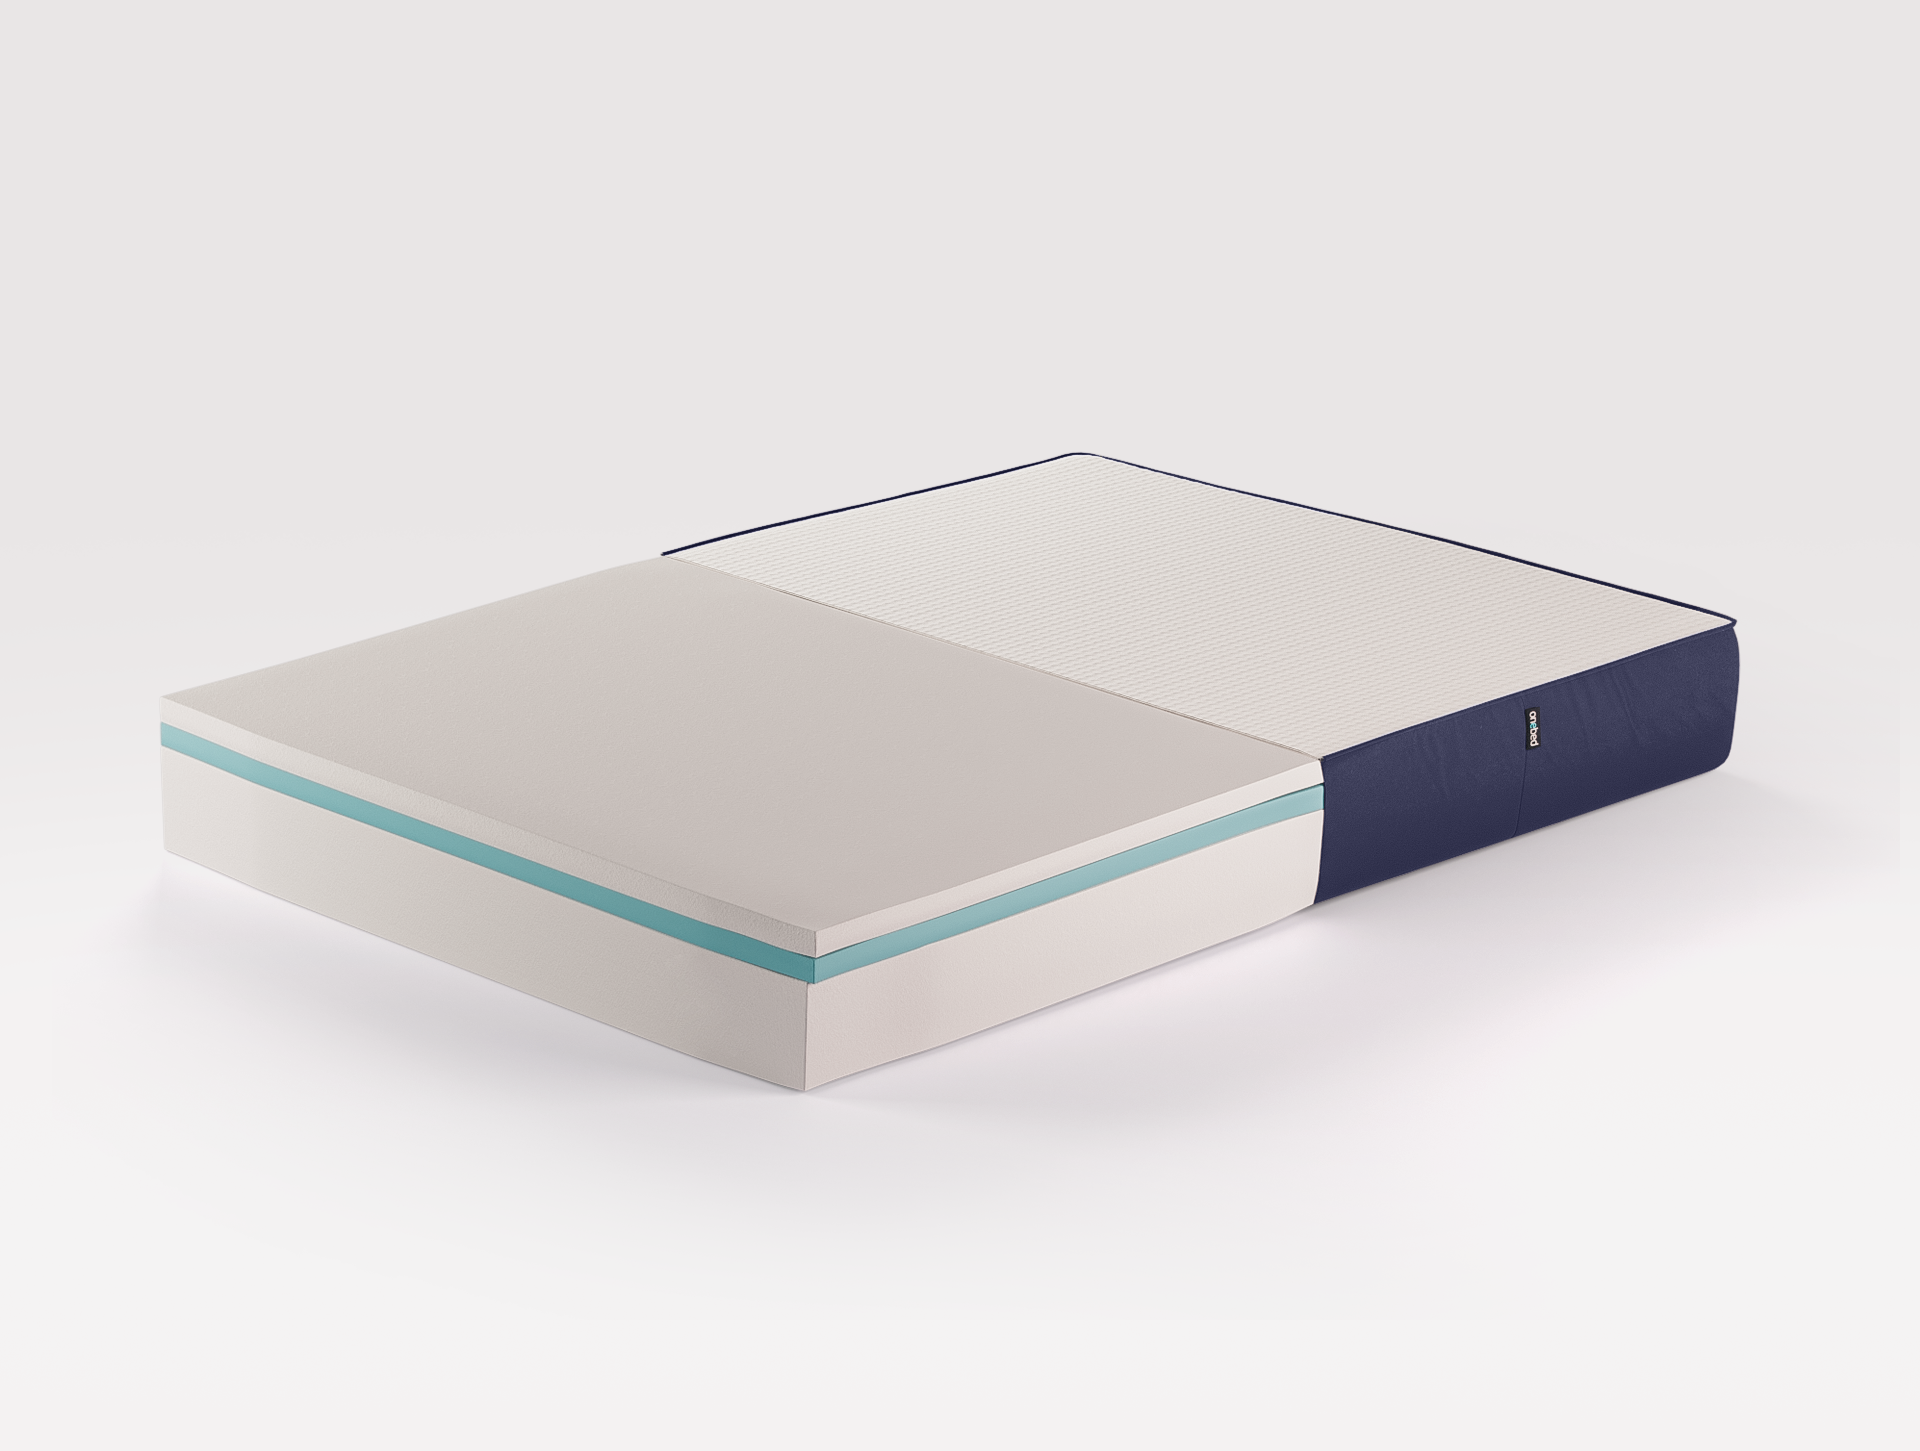
Steam-Cleaning can be a quick and easy way to get rid of odors and infestations. The problem is that steam is just really hot water, and this method uses a lot of it, which could leave your mattress soaked. Another concern is that NOT ALL BEDS CAN TAKE STEAM-CLEANING. The heat involved in this process could damage certain types of mattresses and change their properties. For instance, we do not advise steam-cleaning Onebed as its top layers of dunlop latex and memory foam may be vulnerable to damage from extreme heat.
That was just the basics. Let’s move on to one of the most common reasons for folks to Google “how to clean a mattress”: stains.
II. THE 11 TYPES OF STAINS

The first part of cleaning up any stain is understanding its basic properties.
Most basic stain cleaning guides group stains into just 3 categories:
- Protein
- Tannin
- Grease
While the above categorization can be adequate when you’re dealing with the most common and basic stains, our goal here is to give you all the information you need on every type of stain that could possibly affect your bed fabrics and mattress.
So take a deep breath and get comfy. It’s a long read.
Based on their inherent properties and how they respond to cleaning agents, here are the…
11 TYPES OF STAINS
1. Hydrophobic
Examples:
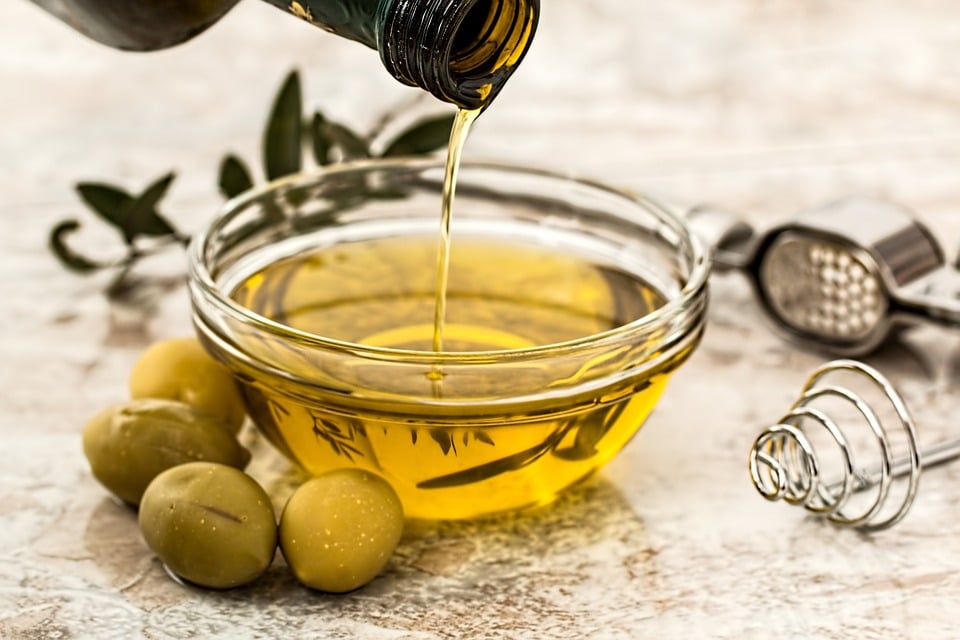
Grease, fat, wax, oil, hand lotion, adhesive tape, eyebrow pencil, eye liner, eye shadow, lard, lubricating oil, floor wax, furniture wax/polish, gasoline, car wax, crayon, ointment, oil paint, putty, rouge, coloured shoe polish, nose drops, soot, sunblock, suntan lotion, tar, typewriter ink ribbon
Properties:
Oil and grease-based. Responds well to dry cleaning solvent.
2. Food with Oil and Fats

Examples:
Milk, gray, pudding, salad dressing, meat juice, mayonnaise, chocolate, cheese, chili sauce, egg yolk, frosting, catsup, ice cream, chocolate syrup, cocoa, egg yolk Combination of protein and oil-based ingredients. Responds well to dry cleaning solvent.
Properties:
Combination of protein and oil-based ingredients. Responds well to dry cleaning solvent.
3. Protein and Starch
Examples:
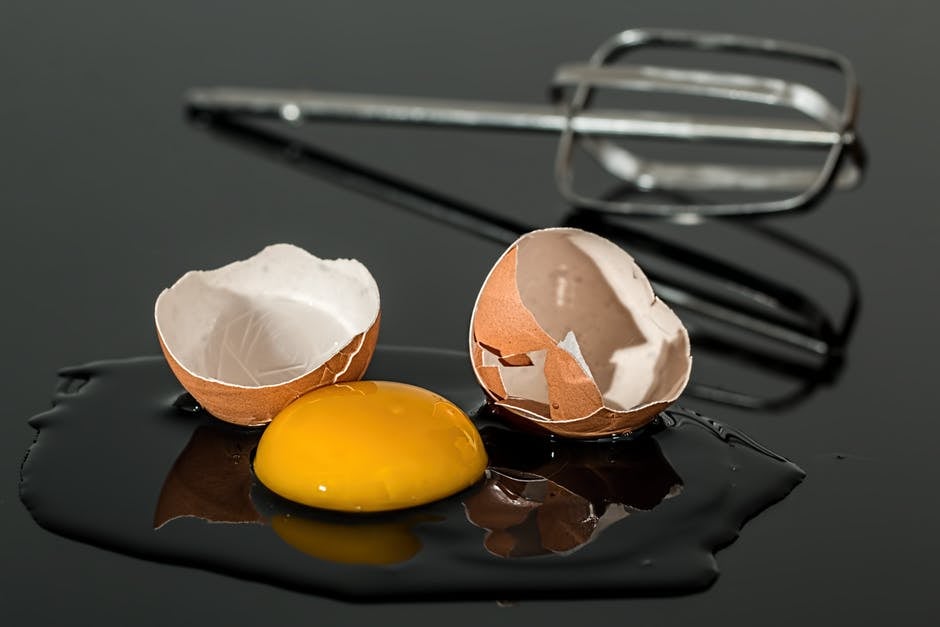
Blood, vomit, bodily discharge, meat, sherbet, hide glue, bath oils, aftershave lotion, egg white, fish glue, fish slime, hide glue, meat soup, starch, mouthwash, mucous
Properties:
Blood, vomit, bodily discharge, meat, sherbet, hide glue, bath oils, aftershave lotion, egg white, fish glue, fish slime, hide glue, meat soup, starch, mouthwash, mucous Combination of protein and starch. IF FRESH, DON’T USE HOT WATER, because it can cook the proteins and set it into the fabric. Responds well to lukewarm water and enzyme products that break down proteins.
4. Plastics and Resin
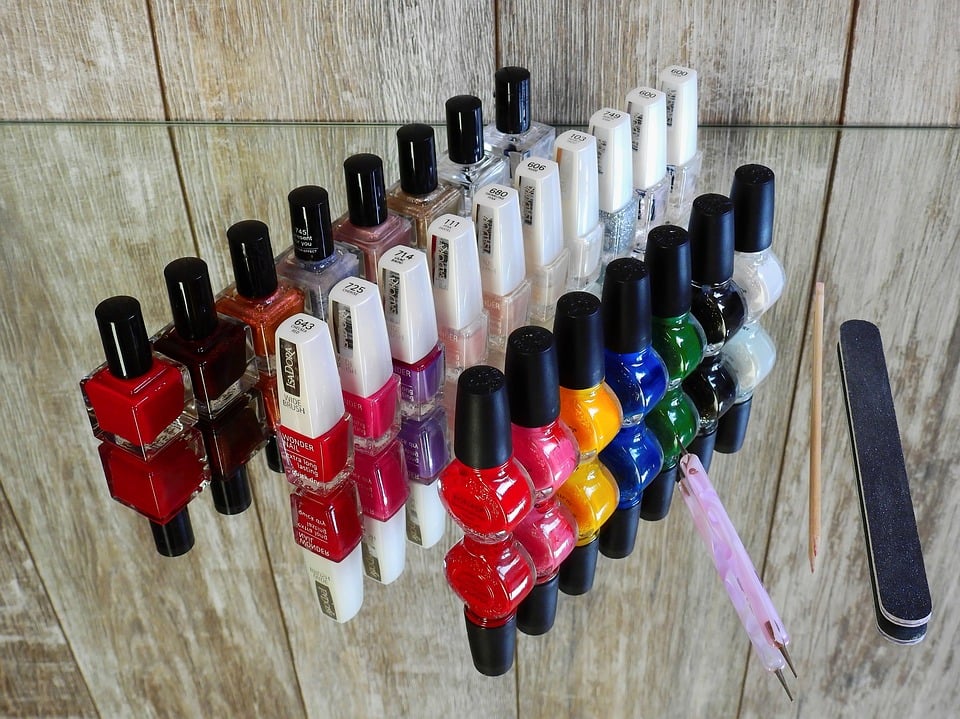
Examples:
Varnish, nail polish/hardener, plastic glue, cuticle oil and remover, household/contact cement, airplane glue, carbon paper, corn remover, plastic cement, mimeograph ink, lacquer, liquid solder, carbon typewriter ribbon.
Properties:
Notoriously difficult to deal with but responds well to dry cleaning solvent.
5. Tannin and Glucose
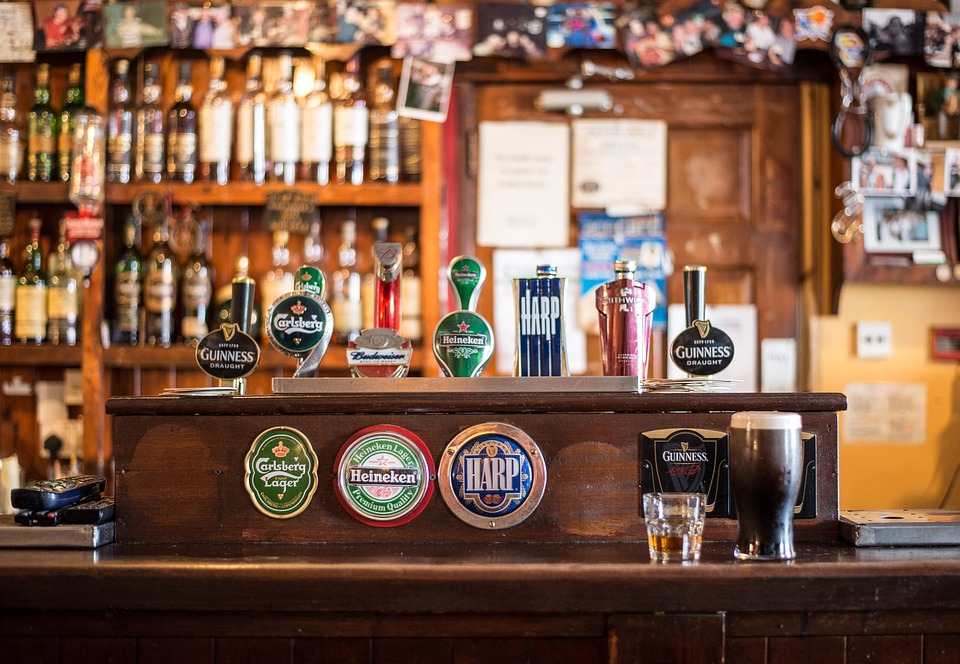
Examples:
Mud, tea, beer, wine, black coffee, fruits, fruit juices and preserves, vegetables, dark-colored sodas, alcoholic beverages, berries, caramelized sugar, casein glue (like Elmer’s), cordials, corn syrup, cough syrup, shaving cream, jam, jelly, tomatoes, tomato juice, maple syrup, mixed drinks, molasses, tobacco, toothpaste, colored vinegar, whisky
Properties:
Tannin is a vegetable dye found in nature. Hot tannin spills like tea or coffee can become especially difficult to deal with because the heat opens up the fabrics for the tannin to set in. Responds well to detergent solutions and vinegar.
6. Water Soluble Body Waste, Red Dyes, and Deodorants

Examples:
Urine, red ink, red dye, red watercolor, red stamp pad, sweat, deodorant, antiperspirant, non-chocolate candy, mercurochrome, merthiolate Common in households where children are growing up.
Properties:
Responds well to water and detergent solutions.
7. Dyes, Inks, and Pigments

Examples:
Inks, food coloring, dyes, and pigments that are not red, bluing, gentian violet.
Properties:
Responds well to water and detergent solutions.
8. Oxidizing Oils, Gums, and Ashpalt
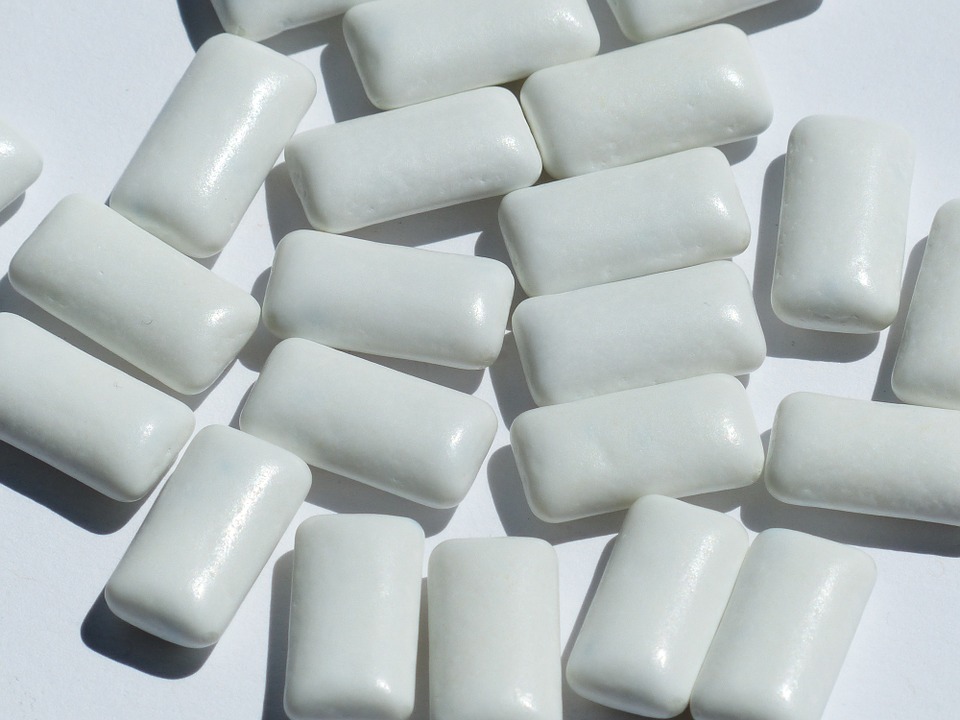
Examples:
Oils: canola, castor, linseed, cod liver, coconut, corn, linseed, safflower, soybean, peanut, olive, and vegetable; butter, chewing gum, rubber cement, ashpalt.
Properties:
Relatively simpler treatment instructions compared to all other stain types. Responds well to dry cleaning solvent.
9. Medicinal
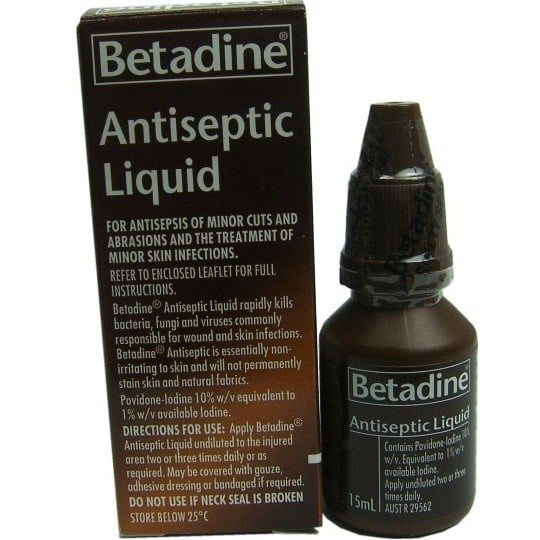
Examples:
Iodine, Penicillin, photo developer fluid, silver nitrate
Properties:
Rare stains unless you’re in a busy medical facility. Requires special chemicals like sodium thiosulfate solution.
10. Special Stains
Examples:
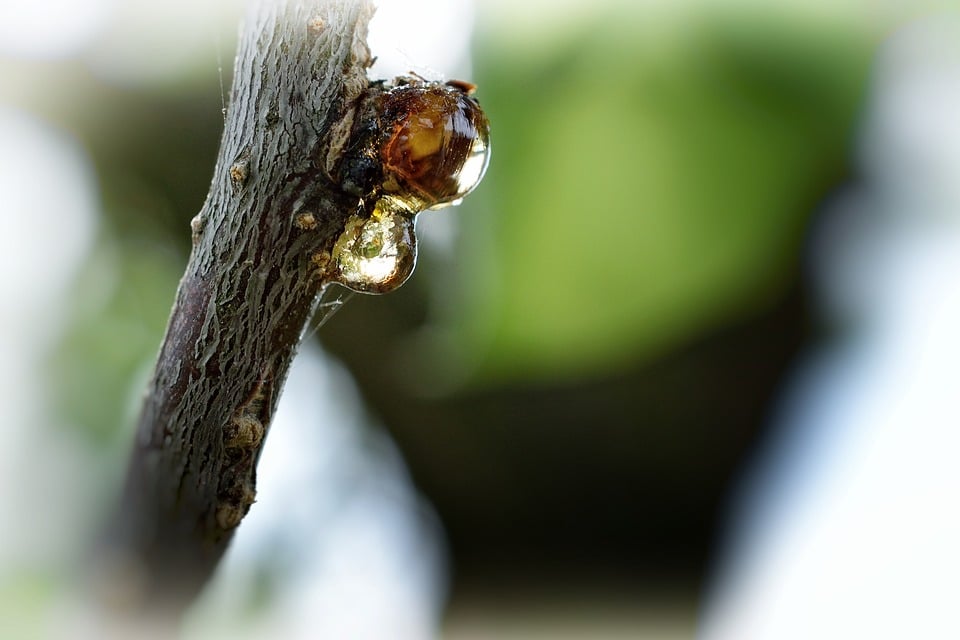
Acids, alkalis, ballpoint pen ink, black walnut, candle wax, chlorine, evergreen pitch or tree sap, grass, lipstick, mildew, mustard, pencil, perfume, rust, scorch, shellac, super glue, toner, unknown stains, white out, white shoe polish
Properties:
A combination of rare and common stains, all of which require specific treatment methods for complete removal.
11. Near-Impossible Stains
Examples:
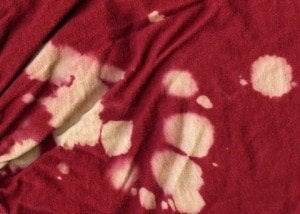
Stomach acid, toilet bowl cleaners, tile grout cleaners, corn and callous removers, foot care preparations, acne medications and skin creams (benzoyl peroxide), age creams, pet shampoos, strong alkalis (drain and oven cleaners), chlorine, chlorine bleach, swimming pool chemicals, mildew stoppers, dimethylsulfoxide (arthritis medications), germicides, disinfectants, Diazinon and Orthene (pesticides), plant food, fertilizers, old urine stains, epoxy cement, furniture stain, black walnut, certain yellow dyes
Properties:
These stains are likely to cause permanent damage or chemically alter fabrics – the effects of which are highly unlikely to be reversed or removed.
Now that you know the true nature of the enemy, it’s time to find the right weapons to fight it.
III. HOW TO MAKE A STAIN-REMOVAL KIT
HERE’S A LIST OF THE TOOLS YOU’LL NEED:
- Absorbent Pads: soft white pieces of cloth, sponges (test for chemical damage), white paper towels, white facial tissues, absorbent pieces of cotton. Blotting paper may also be necessary for certain stains.
- Medicine droppers: for applying controlled amounts of strong cleaning substances.
- Tamping Tool: a spoon or brush to gently ‘tamp’ or tap at stained areas of stronger fabrics, loosening the stain’s physical hold on the material.
- Dull Knife: for removing excess stain material without smearing or damaging the fabric.
- Non-Metallic Mixing Bowl: for combining solutions to create cleaning agents. Use plastic or ceramic.
- Standard Kitchen/Utility Rubber Gloves: You’ll be handling different chemicals, some of which can be dangerous. If you have sensitive skin, use gloves whenever tackling any type of stain.
HERE’S A LIST OF ALL THE NECESSARY SUPPLIES:
Solvents:
Used in the first and last parts of most stain removal methods

- Cool or lukewarm water
- Dry cleaning solvent (ask your local drug store, grocery, car service station, or hardware store; DO NOT USE ON ONEBED.)
- Detergent solution (Combine 1 teaspoon of mild liquid hand and dishwashing detergent with 1 cup of warm water.)
- Paint, oil, and grease remover (Ask your local hardware store.)
- Denatured or rubbing alcohol (unscented and uncolored)
- Amyl acetate aka banana oil (either pure amyl acetate or non-oily nail polish removers with Acetone)
Lubricants for Greasy Stains
Used to lubricate and loosen stubborn greasy or oily stains
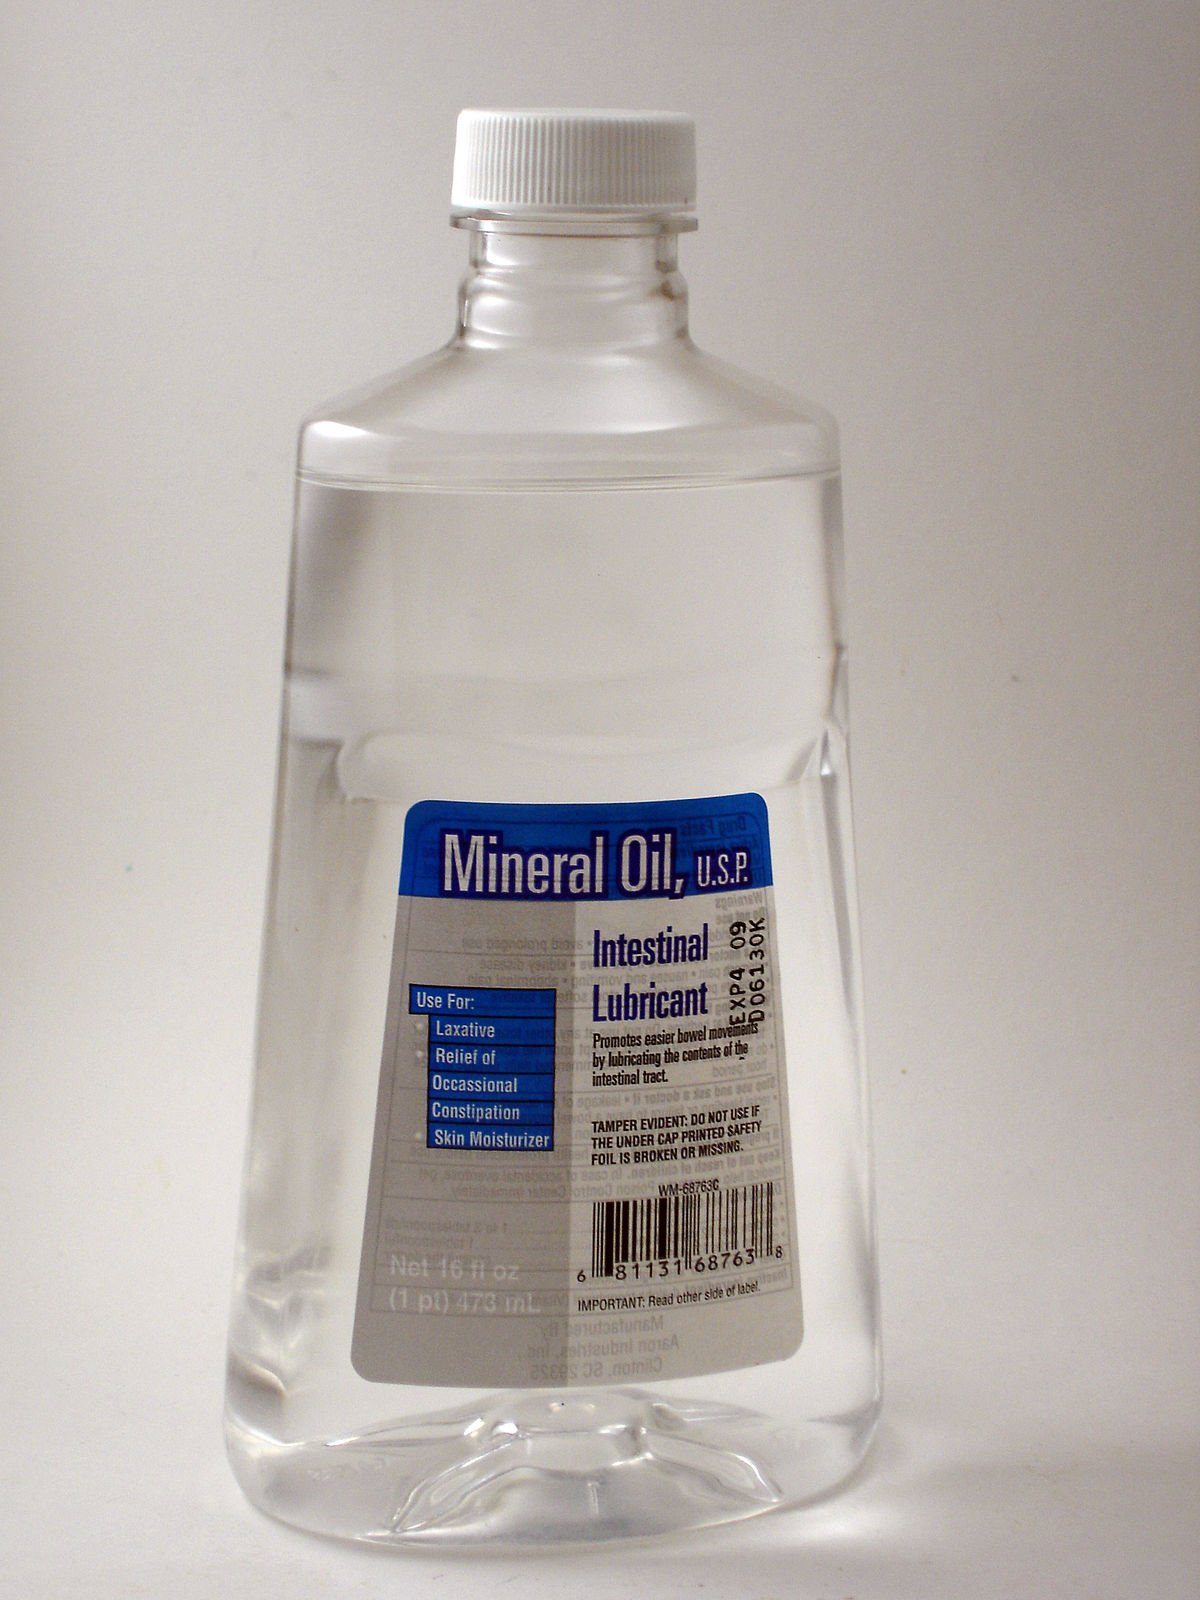
- Mineral Oil (Ask your local drug store.)
- Lard (Check your local grocery.)
- Dry Spotter solution (Combine 1 part mineral/coconut oil and 8 parts dry cleaning solvent.)
- DO NOT USE UNSATURATED OILS/FATS WHEN LUBRICATING GREASY STAINS – if not completely flushed out, in time, they’ll form yellow stains.
Lubricants for Water Borne Stains
Used to lubricate or loosen stains carried by and partially washable with water
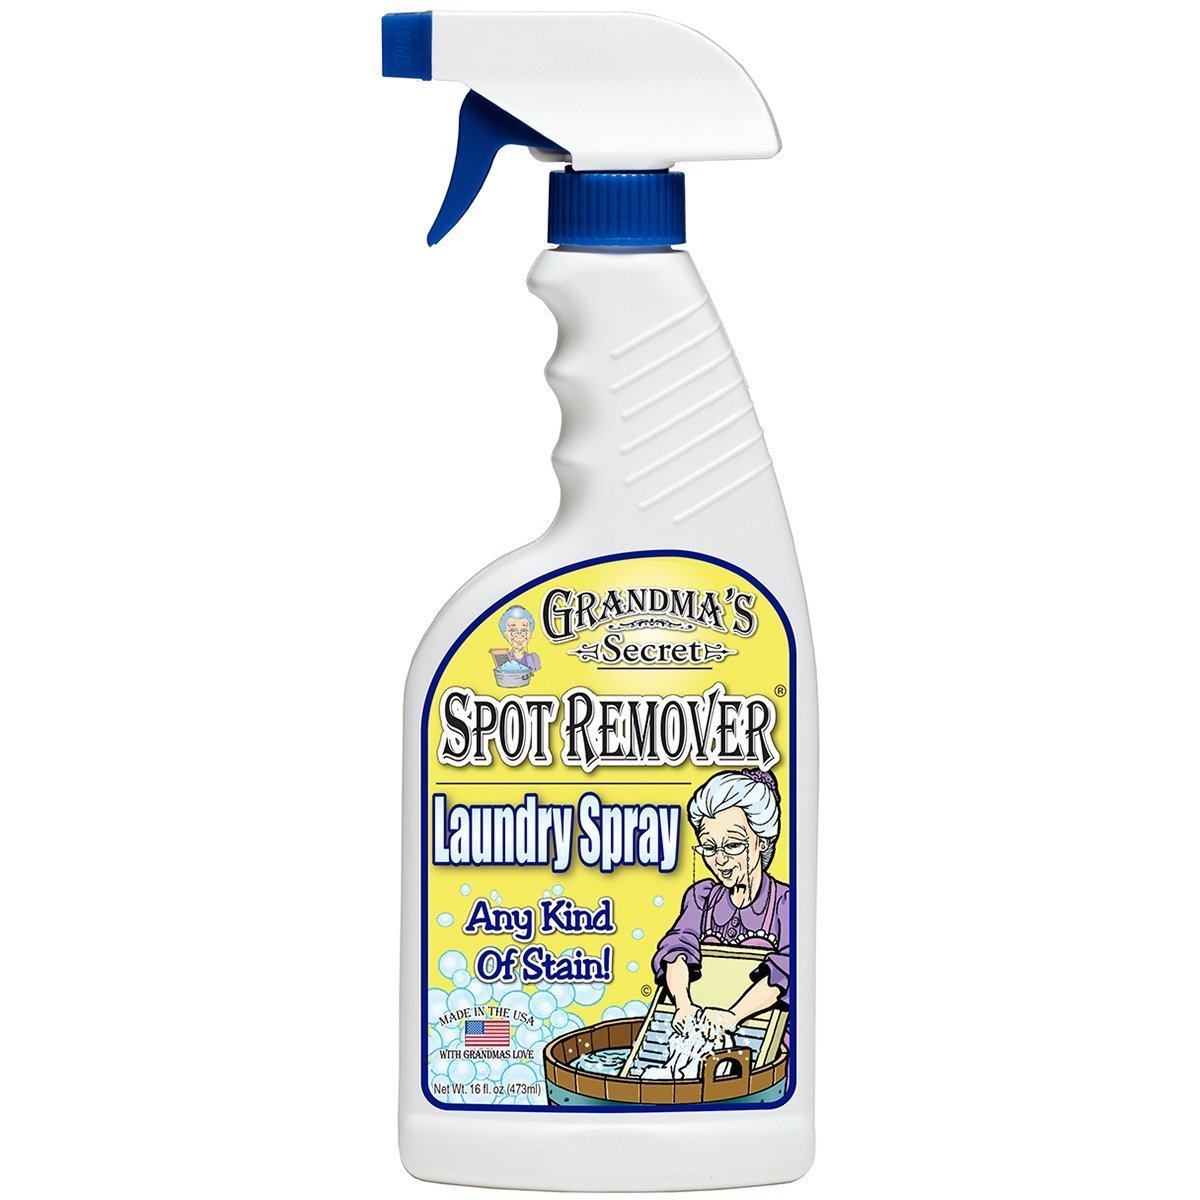
- Pre-treatment Sprays for laundry
- Glycerine (ask your local drug store)
- COMPLETELY FLUSH or WASH OFF these lubricants using water.
Acids and Alkalis
Contrasting agents with similar uses
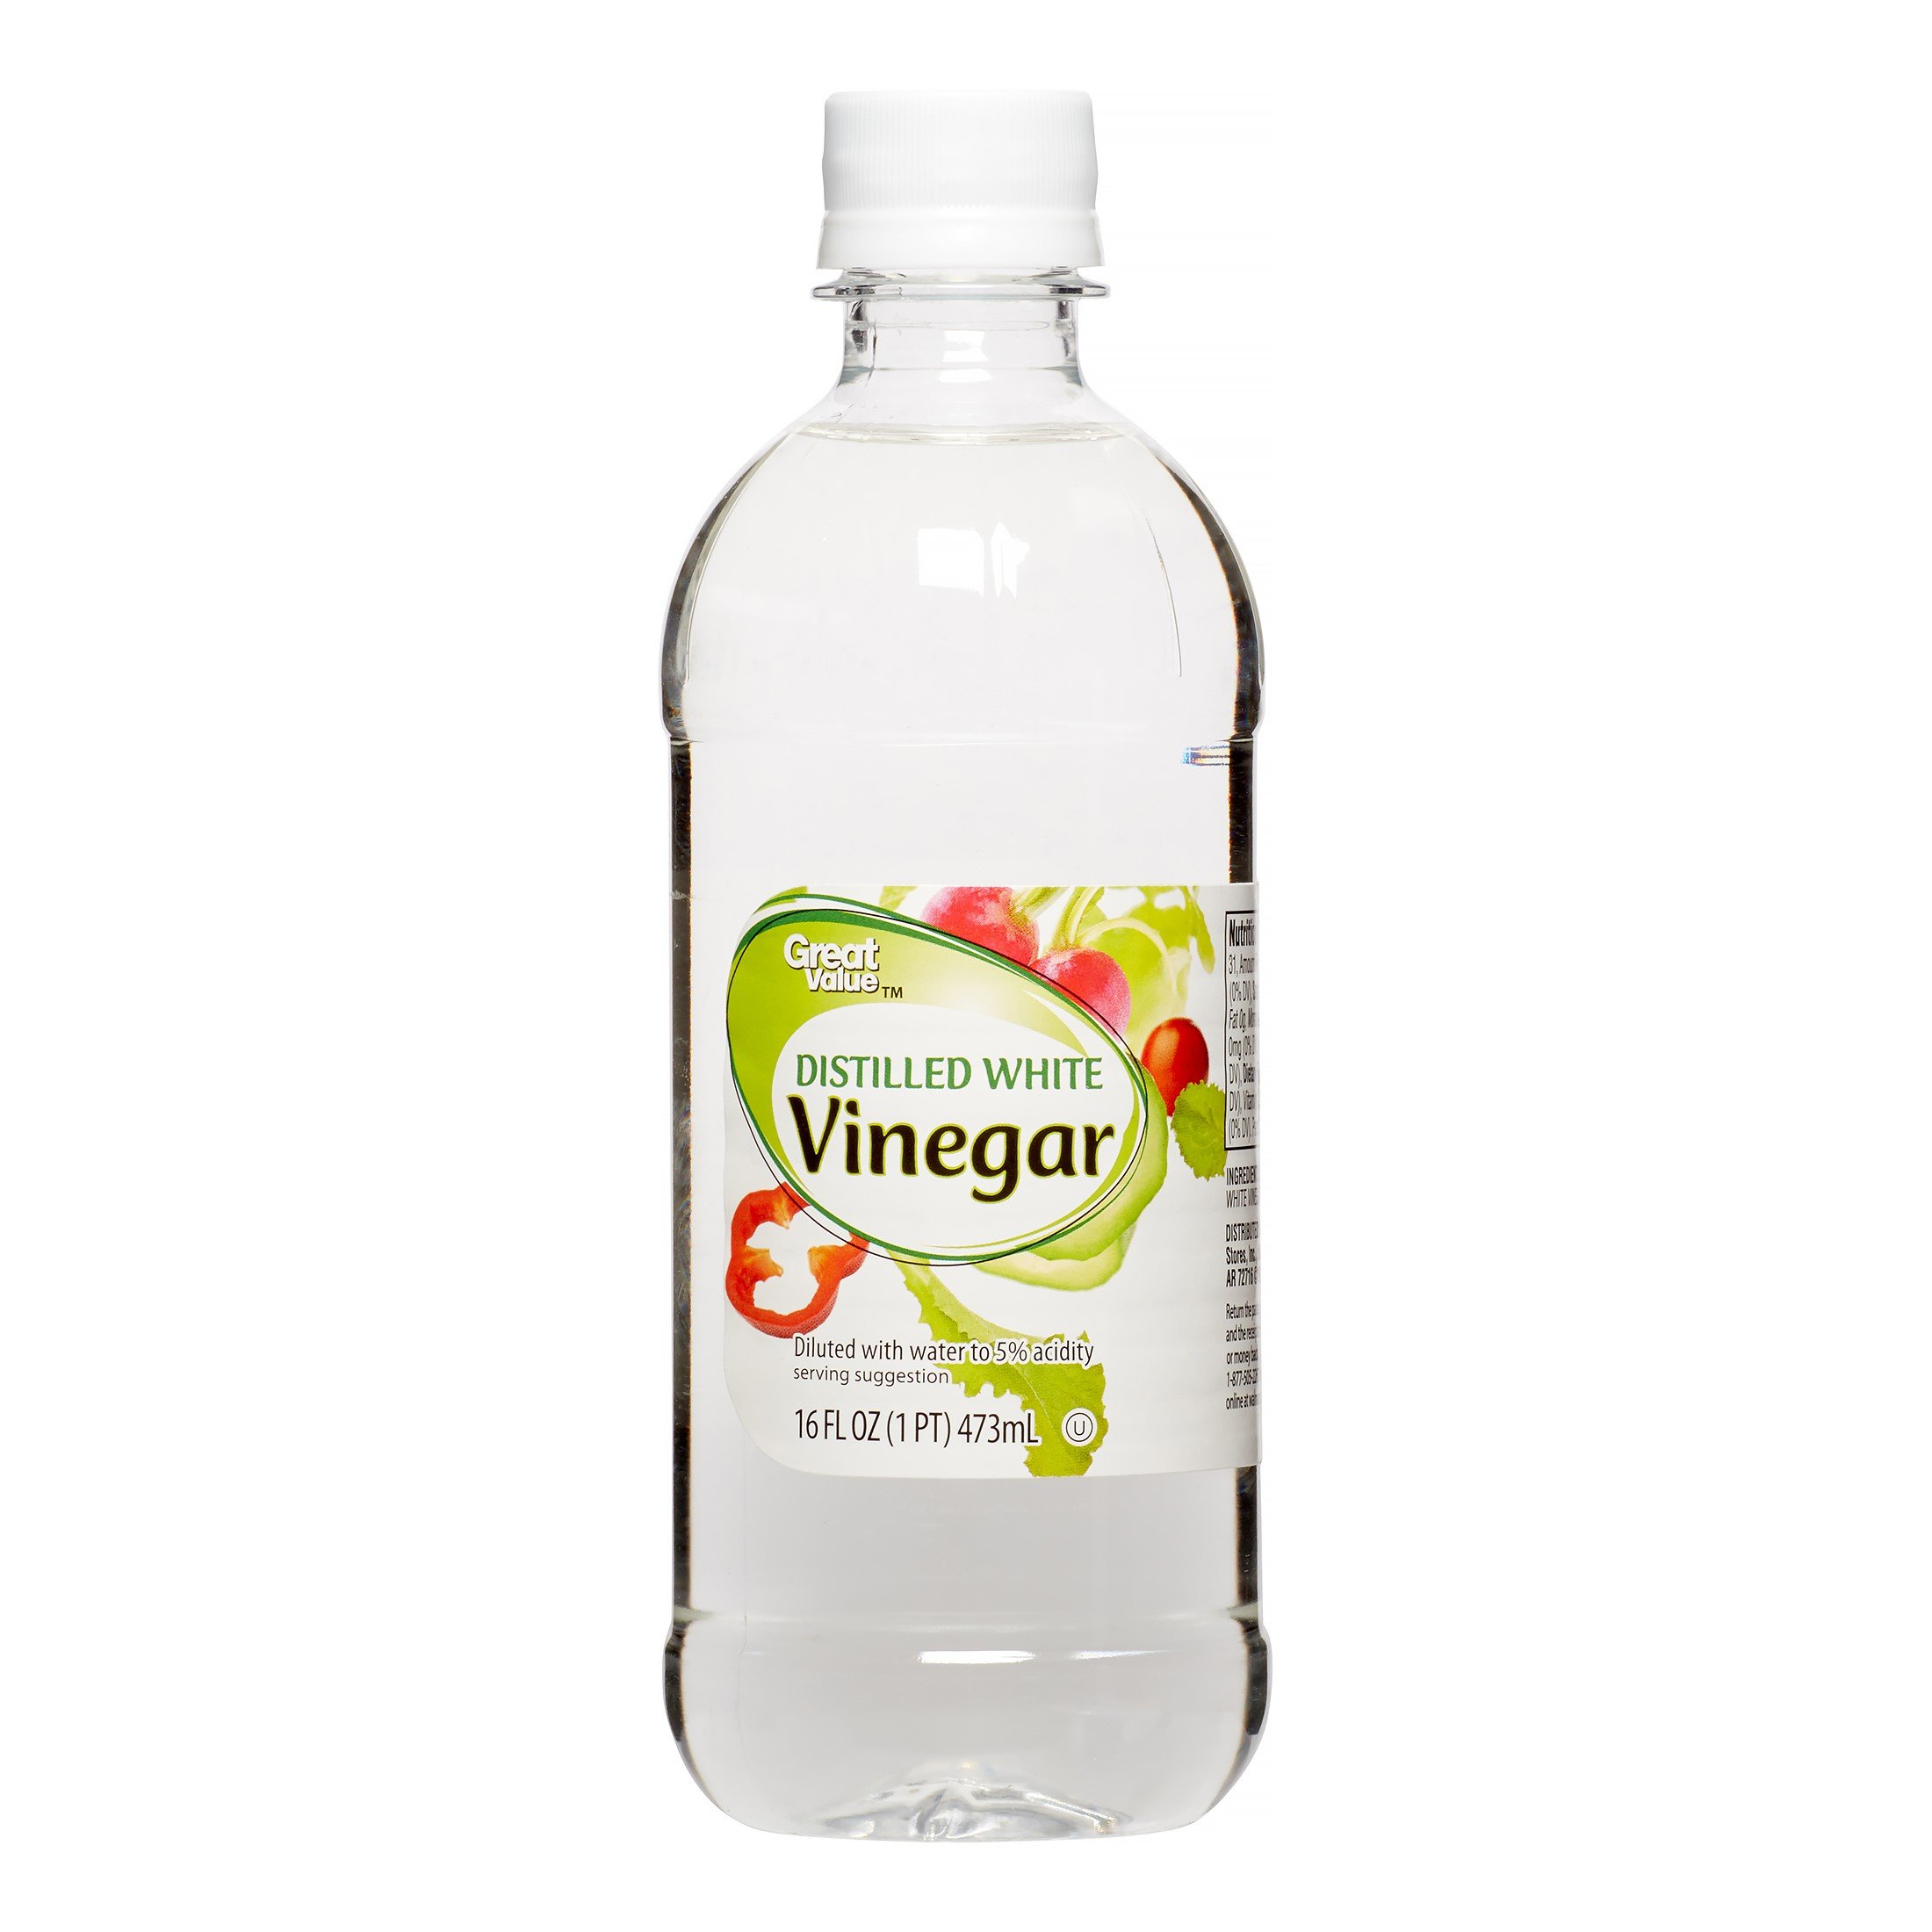
- Vinegar (May be diluted by combining ⅔ cup of water and ⅓ cup of vinegar; you can also add vinegar to detergent solution.)
- Lemon Juice (Almost the same acidity as vinegar without the chemistry-classroom smell.)
- Liquid Ammonia/Ammonia Solution (Combine ½ cup of water with 1 tablespoon of ammonia; you can also add ammonia to detergent solution.)
Bleaches
Always use sparingly
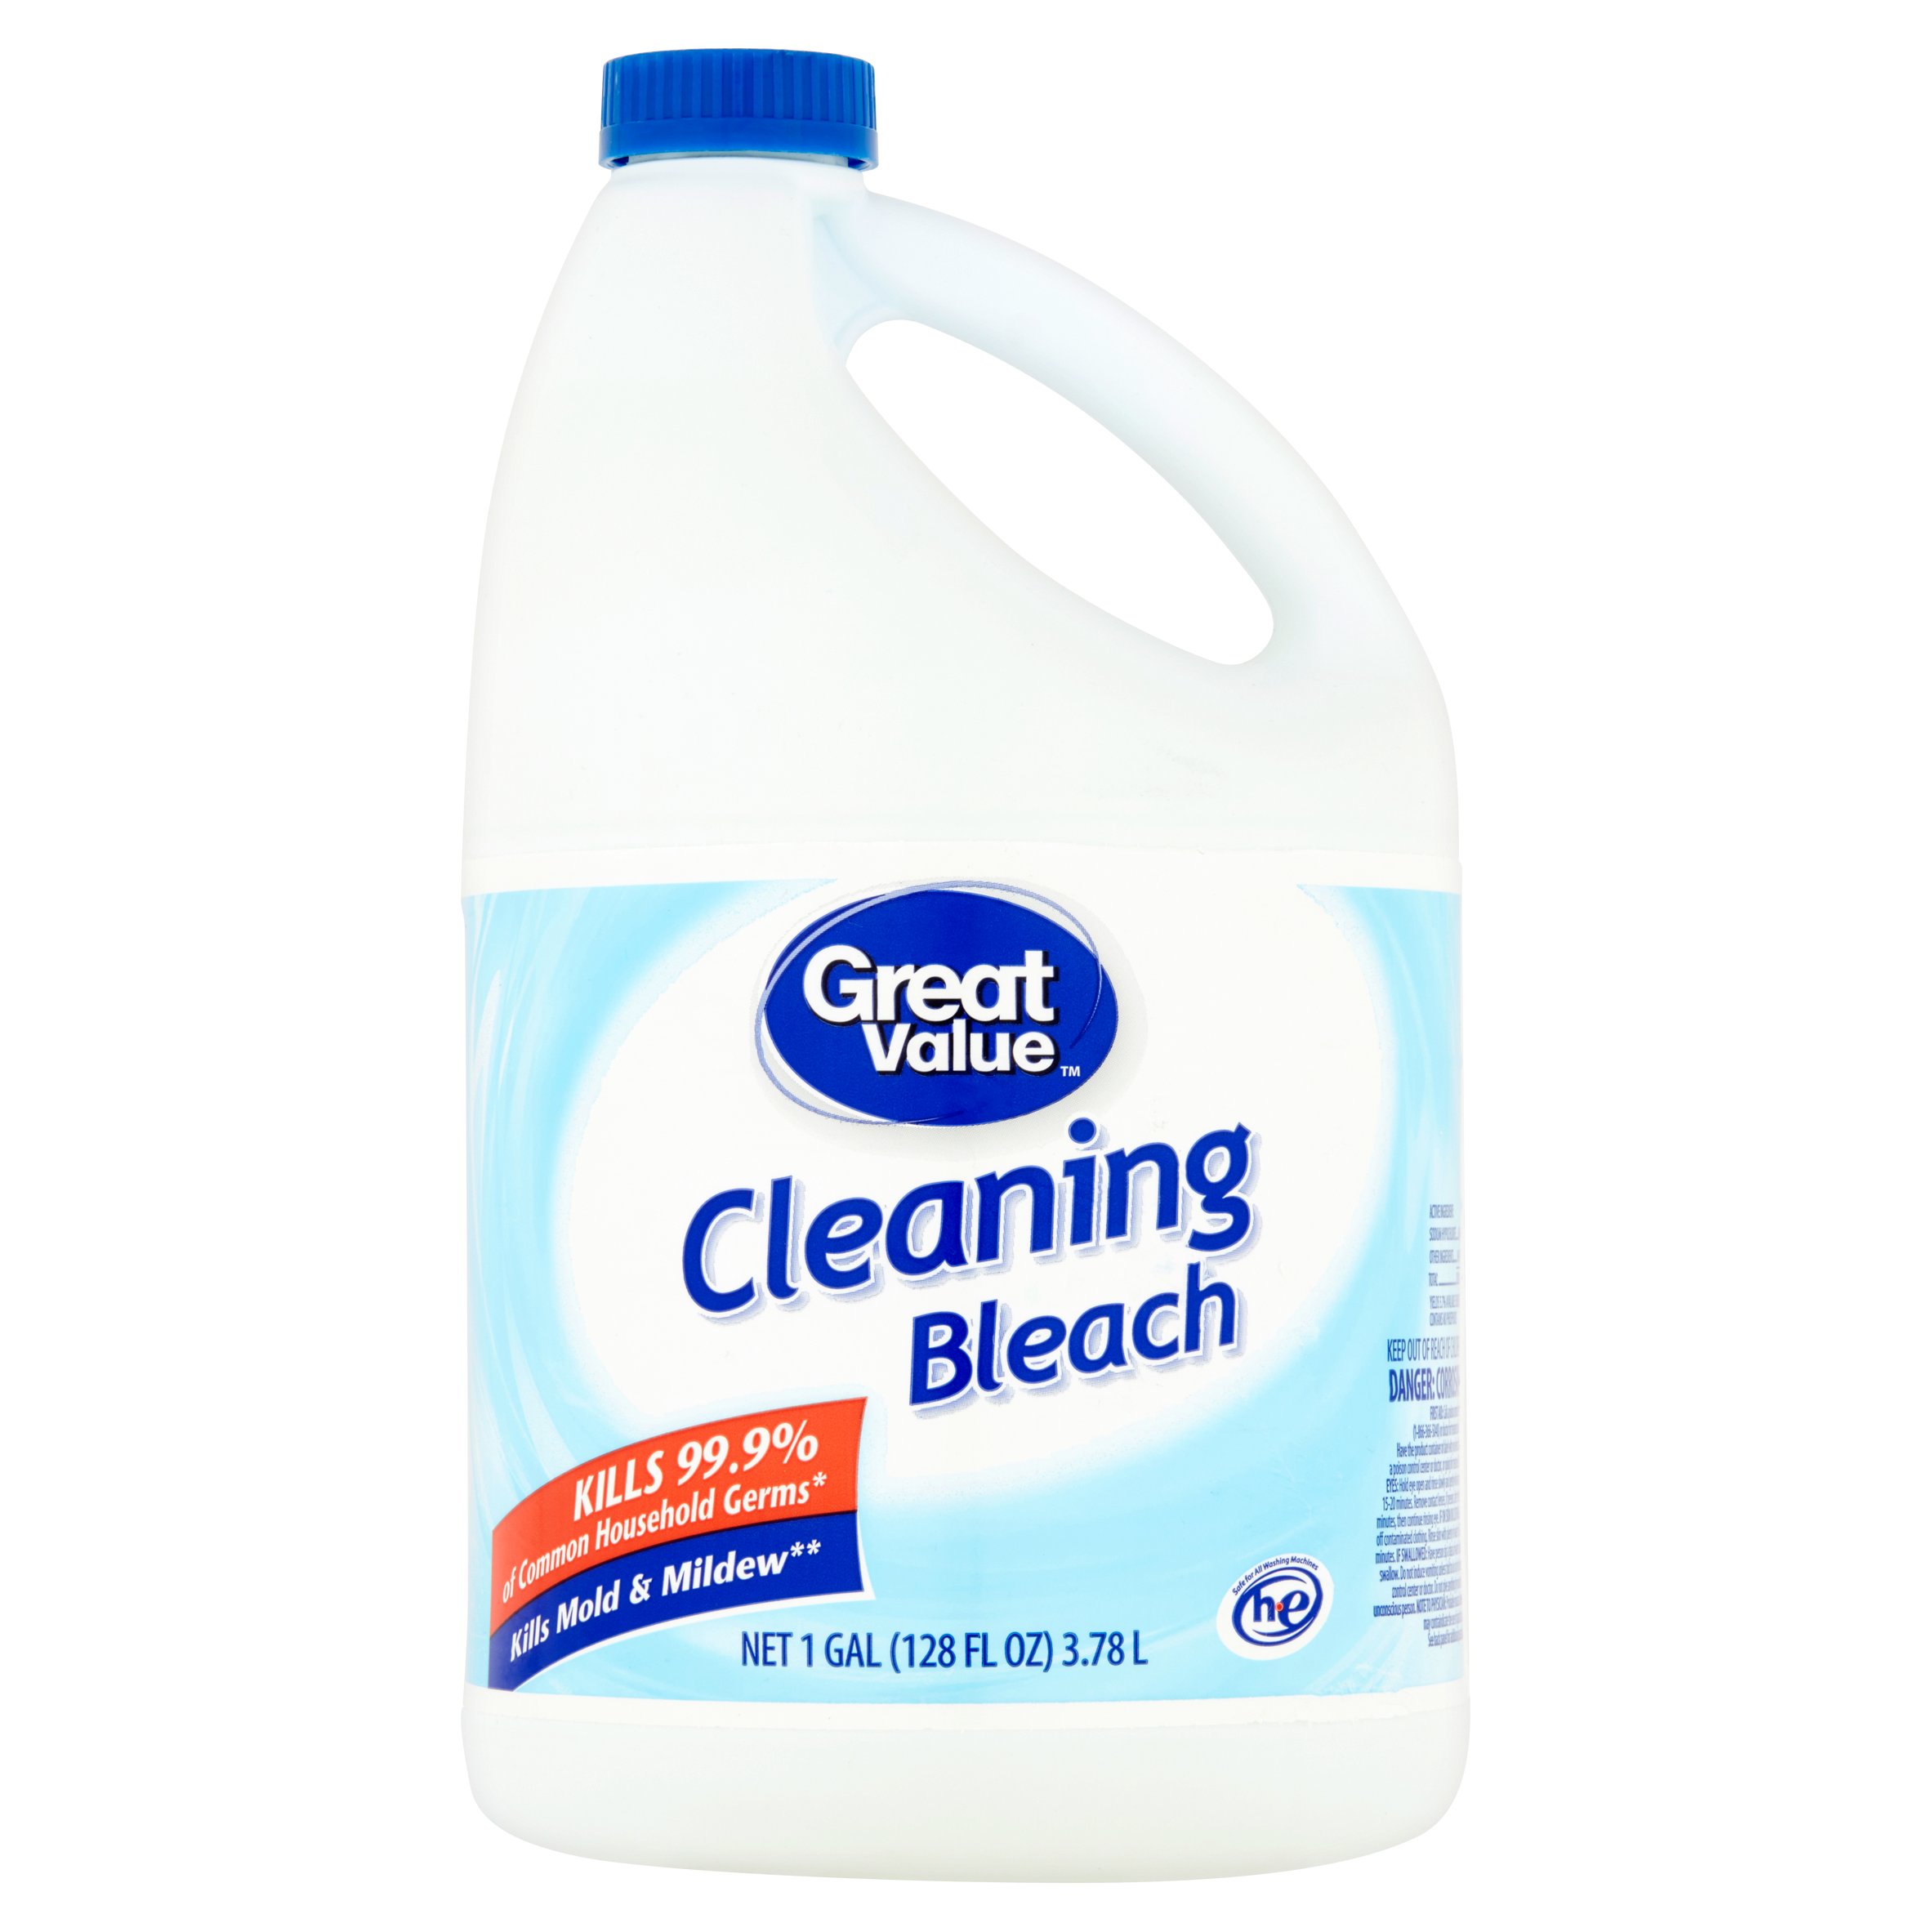
- Chlorine Bleach solution ( Combine 1 teaspoon of bleach and 1 tablespoon of water inside a MEDICINE DROPPER for highly controlled application. NEVER ALLOW TO BE IN CONTACT WITH FABRIC FOR MORE THAN 2 MINUTES. NOT to be used on spandex, silk, wool, or ON ONEBED. )
- Hydrogen Peroxide ( DO NOT USE STRONGER SOLUTION FOR HAIR BLEACHING. Use 3% solution; ask your local drug store )
- Sodium Perborate (Use as a weaker substitute to Hydrogen Peroxide. Works the same way but takes more time to work and more washing/flushing after treatment.)
- Color Remover (Ask your local grocery or drug store.)
Enzyme Products
Breaks down stains that contain protein and starch
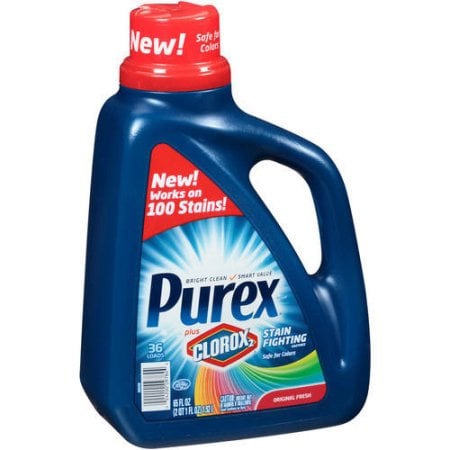
- Laundry Detergent with Enzymes (Check the label for the words ‘protein remover’ or ‘contains enzymes’.
- Enzyme Presoak (Check your local supermarket for brands like White King or Biz. Check the label for words like “pre-wash stain remover” or “stain lift”.)
- Pet Stain Removers (Ask your local pet supply store or supermarket)
Other Chemicals
For removing rare stains from medicine
- Iodine (ask your local drug store)
- Sodium thiosulfate (ask the nearest photo supply store for photographic fixer)
Read on to see which chemicals on the list you actually need.
FOLLOW THESE 10 SAFETY PRECAUTIONS WHEN REMOVING STAINS:
DO NOT SKIP THIS PART. Serious stain removal sometimes requires the use of serious chemicals. Not following these safety precautions may not just cause further damage to the stained mattress/fabric, it could also endanger the health of whoever is working on the stain.
1. CONSULT TAGS AND CARE LABELS:
It contains crucial information on which solutions and cleaning agents shouldn’t be used on your fabrics or your mattress.
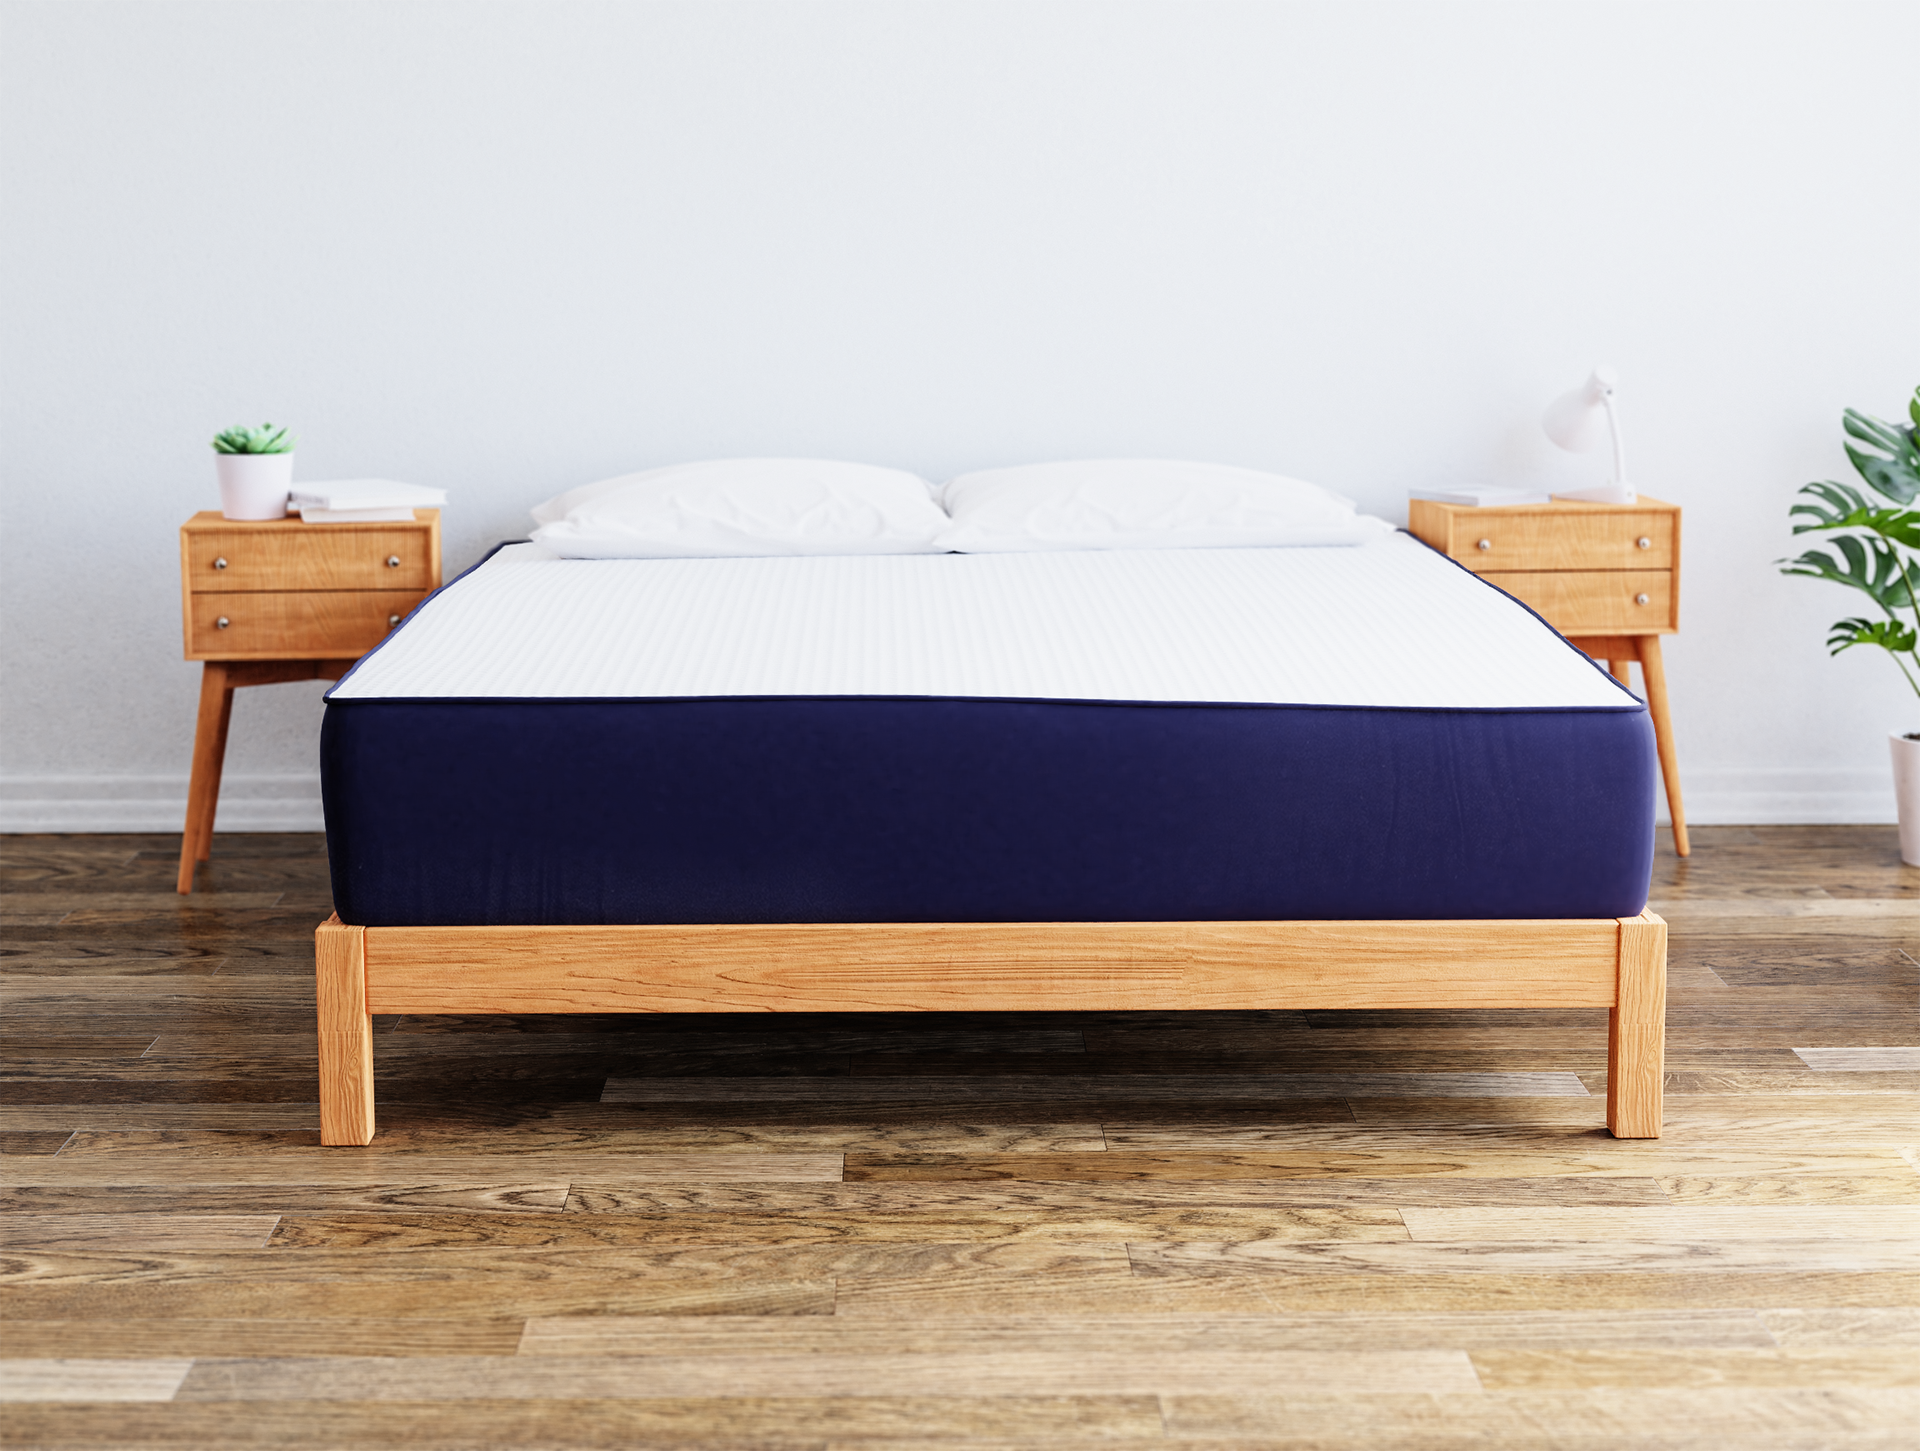
For instance, when it comes to cleaning Onebed, which is a latex, memory foam, and high-density foam mattress covered with polyester, there are care label warnings that can be consulted:
| WARNING | OUR RECOMMENDATION |
| Do Not Bleach. | Use weaker bleaches like 3% hydrogen peroxide (to minimize possible damage to mattress material), or just forego bleaching altogether. Chlorine and other bleaches are mostly used at the end of stain treatments for getting rid of remaining traces after most of the stain has been removed. At that point, the previously stained area has already been disinfected, and bleaching is mostly for cosmetic purposes. If you don’t mind inconspicuous traces of where a very obvious stain used to be, don’t worry about bleaching. Protecting the integrity of your mattress is more important than completely erasing the traces of any stain. (unless it’s mold or mildew, which should be erased with bleach no matter what) (link to Chapter 4, 10. Special Stains: ‘Mildew’) |
| Iron, Low. | Certain stains, like candlewax, can only be dealt with using an iron. Just make sure to keep the settings as low as possible to minimize risk of damage. The top layers of Onebed are made of latex and memory foam, both of which can be susceptible to damage from extreme heat. |
| Do Not Dryclean. | Dry cleaning solvent is a common solvent used in a lot of the stain removal procedures detailed below; it can also damage your Onebed mattress. Use these solvents instead: Paint, oil, and grease remover (Ask your local hardware store.) Denatured or rubbing alcohol (unscented and uncolored) Amyl acetate aka banana oil (either pure amyl acetate or non-oily nail polish removers with Acetone) |

2. Work in a safe and well-ventilated area
If the stain requires you to use strong-smelling solvents and flammable ingredients, do the treatment in an area that’s not only well-ventilated, but also free from electrical sparks and open flames.
3. Use water to immediately wash off any potentially dangerous chemicals like bleaches, fixer fluid, or dry cleaning solvents on your skin or clothes
Prolonged exposure to such chemicals could result in mild burns, other adverse health effects, and more stains.
4. DO NOT use metal containers/spoons for bleach.
Metal causes a chemical reaction that might render the bleach ineffective. Use plastic medicine droppers instead.
5. In most cases, DO NOT RUB OR BRUSH STAINS
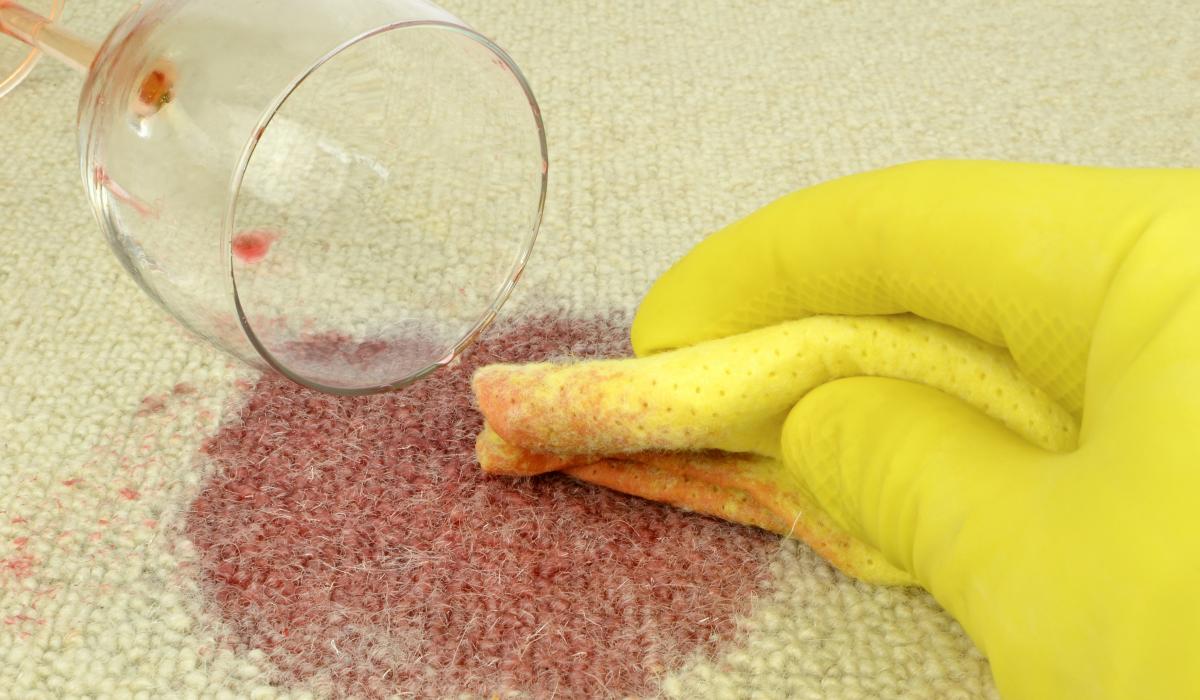
(unless it’s part of the instructions). Rubbing and brushing usually just causes stains to spread. Instead, PRESS, TAMP, WIPE, and BLOT with patience.
6. Unevenly feather liquids onto stain whenever direct application is needed
(to avoid creating a post-stain treatment ring).
7. DO NOT BLEACH spandex, silk, or wool.
8. Use absorbent pads to CONTROL MOISTURE
Try not to over-wet. Remember: Moisture is your mattress’ worst enemy. Always try to control the moisture, especially when washing or flushing out solvents and other removal agents with water. Apply solvents sparingly if possible and blot frequently.
9. ALWAYS pre-test stain removing solutions/methods on small areas of the fabric first
Do this before treating the entire stain to avoid accidentally destroying/altering fabrics
- Pick a small, inconspicuous area on the stain.
- Use a medicine dropper to apply 2 to 3 drops of water, dry cleaning solvent, or whatever other recommended remover to that area.
- Lightly rub and press on the small area with a white absorbent pad.
- If the colors change or transfer to the pad, consult a professional cleaner.
- If not, then both the recommended remover and method are safe to use.
10. NEVER use bleach adn ammonie together
The combination can result in a bunch of chemical reactions, one of which is the production of toxic chlorine gas, a chemical weapon that was used in World War I but is now banned under international humanitarian law. Should you or someone you know unwittingly unleash chemical warfare in your home, don’t panic. Follow these emergency procedures:
- Get the patient away from the toxic vapors. Let him or her breathe in fresh air.
- If patient is conscious, flush all affected areas with water, soap, and more water. If the patient’s eyes are affected, flush with lukewarm water for up to 15 minutes.
- If patient is unconscious, apply artificial respiration while being careful not to come in contact with any toxic chemicals.
- Do all treatments and decontamination procedures without breaking the patient’s skin.
- Immediately seek professional medical attention.
IV. HOW TO CLEAN ALL TYPES OF MATTRESS STAINS

All of the stain-removal treatment methods detailed below are safe for most mattresses and other non-washable fabrics – as long as you follow the above safety instructions, especially the part above pre-testing solutions on small areas first. You can also use these same methods for treating stained areas on washable fabrics like clothes, bed sheets, pillow cases, and washable mattress protectors (before throwing them in the wash).
| STAIN TYPE | STAIN-REMOVAL METHOD |
| 1. Hydrophobic Stains (Grease, fat, wax, oil, hand lotion, adhesive tape, eyebrow pencil, eye liner, eye shadow, lard, lubricating oil, floor wax, furniture wax/polish, gasoline, car wax, crayon, ointment, oil paint, putty, rouge, coloured shoe polish, nose drops, soot, sunblock, suntan lotion, tar, typewriter ink ribbon) | Apply dry cleaning solvent using absorbent pad or sponge. Lubricate the area using lard, dry spotter solution, or mineral oil. Remember: feather out liquids unevenly to avoid creating a post-stain ring: do this for all stain removal methods. Apply paint, oil, and grease remover or dry spotter using absorbent pad. Keep moistening the stain using dry spotter while blotting using another clean absorbent pad to lift the stain and control moisture. For strong fabrics, tamp the absorbent pad to further loosen the stain’s hold on the fabric. Flush or wash area with dry cleaning solvent. Repeat steps 2 to 3 until stain is removed. Let it dry. If stain is still visible, apply several drops of detergent solution and ammonia. Press and work this into the stain using an absorbent pad. Completely flush or wash with water. Remember to use absorbent pads to control moisture. Apply chlorine bleach using a medicine dropper to remove remaining traces of the stain. REMOVE BLEACH AFTER 2 MINUTES: Flush or wash with water. Apply vinegar solution to remove all traces of chlorine. Any remaining chlorine bleach can cause further stains and damage the fabric. Flush or wash off vinegar solution with water. |
| 2. Food with Oils and Fat (Milk, gray, pudding, salad dressing, meat juice, mayonnaise, chocolate, cheese, chili sauce, egg yolk, frosting, catsup, ice cream, chocolate syrup, cocoa, egg yolk) | Apply dry cleaning solvent using absorbent pad or sponge. If possible, place an absorbent pad underneath the area. Lubricate the area using an absorbent pad dampened with dry spotter; keep doing this while keeping the stain moist to lift the stain. Change spotter-dampened absorbent pads when necessary, until the stain is fully lifted. For strong fabrics, tamp the stained area to loosen its hold. Flush or wash area with dry cleaning solvent. Let it dry. Apply detergent solution with a few drops of ammonia using a medicine dropper. Tamp again if the stained fabric is strong. Flush or wash area with water. Apply chlorine bleach using a medicine dropper to remove remaining traces of the stain. REMOVE BLEACH AFTER 2 MINUTES: Flush or wash with water. Apply vinegar solution to remove all traces of chlorine. Any remaining chlorine bleach can cause further stains and damage the fabric. Flush or wash off vinegar solution with water. If the stain is chocolate, don’t use chlorine bleach. Instead, apply 3% solution hydrogen peroxide with 2 drops of ammonia. Flush or wash off with water. |
| 3. Protein and Starch (Blood, vomit, bodily discharge, meat, sherbet, hide glue, bath oils, aftershave lotion, egg white, fish glue, fish slime, hide glue, meat soup, starch, mouthwash, mucous) | Blot up as much of the stain as possible using an absorbent pad. If possible, place an absorbent pad underneath the area. Moisten another absorbent pad with enzyme product and place it on the stained area. Wait for 30 minutes. If the stained fabric is strong, tamp the area. Flush or wash with water. Flush or wash area with ammonia solution, and then again with water. Blot using absorbent pad. Flush or wash area with vinegar solution, and then again with water. Blot using absorbent pad. Blood stains can be trickier. After doing steps 1 to 4, apply 3% hydrogen peroxide with 1 drop of ammonia. Flush or wash with water. |
| 4. Plastics and Resin (Varnish, nail polish/hardener, plastic glue, cuticle oil and remover, household/contact cement, airplane glue, carbon paper, corn remover, plastic cement, mimeograph ink, lacquer, liquid solder, carbon typewriter ribbon) | Apply dry cleaning solvent using absorbent pad or sponge. If possible, place an absorbent pad underneath the area. Lubricate the area using an absorbent pad dampened with dry spotter, mineral oil, or lard. Tamp for stronger fabrics. Change dampened absorbent pads if necessary. Flush or wash area with dry cleaning solvent. Repeat steps 2 to 3 until stain is completely lifted. Moisten an absorbent pad with amyl acetate and place it on the stained area. Moisten for 15 minutes while occasionally blotting to lift the stain. Tamp stronger fabrics. Flush or wash area with dry cleaning solvent. Apply chlorine bleach using a medicine dropper to remove remaining traces of the stain. REMOVE BLEACH AFTER 2 MINUTES: Flush or wash with water. Apply vinegar solution to remove all traces of chlorine. Any remaining chlorine bleach can cause further stains and damage the fabric. Flush or wash off vinegar solution with water. |
| 5. Tannin and Glucose (Mud, tea, beer, wine, black coffee, fruits, fruit juices and preserves, vegetables, dark-colored sodas, alcoholic beverages, berries, caramelized sugar, casein glue (like Elmer’s), cordials, corn syrup, cough syrup, shaving cream, jam, jelly, tomatoes, tomato juice, maple syrup, mixed drinks, molasses, tobacco, toothpaste, colored vinegar, whisky) | Apply water using absorbent pad or sponge. Moisten an absorbent pad with mild detergent solution with a few drops of vinegar. Use this moistened pad to cover the stain. Tamp occasionally if fabric is strong. Flush or wash area with water. Moisten an absorbent pad with alcohol. Use this moistened pad to cover the stain and let it lift the stain. Change with a freshly alcohol moistened pad after original pad has lifted enough of the stain. Moisten an absorbent pad with enzyme product. Use this moistened pad to cover the stain. Wait for 30 minutes. Keep the stained area warm and the pad moistened with the enzyme product. Flush or wash area with water. Apply chlorine bleach using a medicine dropper to remove remaining traces of the stain. REMOVE BLEACH AFTER 2 MINUTES: Flush or wash with water. Apply vinegar solution to remove all traces of chlorine. Any remaining chlorine bleach can cause further stains and damage the fabric. Flush or wash off vinegar solution with water. |
| 6. Water Soluble Body Waste, Red Dyes, Deodorants (Urine, red ink, red dye, red watercolor, red stamp pad, sweat, deodorant, antiperspirant, non-chocolate candy, mercurochrome, merthiolate) | Apply water using absorbent pad or sponge. Apply detergent solution with a few drops of ammonia using absorbent pad. Use this moistened pad to press on the stain every 5 minutes. Flush or wash area with water. Apply detergent solution with a few drops of vinegar using absorbent pad. Use this moistened pad to press on the stain every 5 minutes. Flush or wash area with water. Moisten an absorbent pad with alcohol and cover the stain; let it stay there until it lifts up as much of the remaining stain as possible. Tamp the stained area occasionally if the fabric is strong. Flush or wash area with water. Apply chlorine bleach using a medicine dropper to remove remaining traces of the stain. REMOVE BLEACH AFTER 2 MINUTES: Flush or wash with water. Apply vinegar solution to remove all traces of chlorine. Any remaining chlorine bleach can cause further stains and damage the fabric. Flush or wash off vinegar solution with water. |
| 7. Dyes, Inks, and Pigments (Inks, food coloring, dyes, and pigments that are not red, bluing, gentian violet) | Apply water using absorbent pad or sponge. Moisten an absorbent pad using mild detergent with a few drops of vinegar. Use this to cover the stain for 30 minutes or more. Every 5 minutes, blot the stain with another clean absorbent pad that’s moistened with the same solution. Flush area with water. Moisten an absorbent pad with alcohol. Use this to cover the stain and lift it. Press hard on the pad. Change with a freshly alcohol-moistened pad after the original pad has lifted enough of the stain. Flush or wash area with alcohol. Let it dry. Apply water using absorbent pad or sponge. Moisten an absorbent pad using mild detergent with a few drops of ammonia. Use this to cover the stain for 30 minutes. Every 5 minutes, blot up the stain using another clean pad moistened with the same solution. Flush or wash the area with water. Let it dry. Apply chlorine bleach using a medicine dropper to remove remaining traces of the stain. REMOVE BLEACH AFTER 2 MINUTES: Flush or wash with water. Apply vinegar solution to remove all traces of chlorine. Any remaining chlorine bleach can cause further stains and damage the fabric. Flush or wash off vinegar solution with water. |
| 8. Oxidizing Oil, Gums, and Ashpalt (Oils: canola, castor, linseed, cod liver, coconut, corn, linseed, safflower, soybean, peanut, olive, and vegetable; butter, chewing gum, rubber cement, ashpalt) | If possible, place an absorbent pad under the stained area of the fabric. Moisten an absorbent pad with drycleaning solvent. Use this to cover the stain and lift it up. Change with a fresh pad to lift up more of the stain. Moisten an absorbent pad with dry spotter. Use this to cover the stain for a while. Every 5 minutes, tamp on the stained area if the fabric is strong. Alternate tamping and soaking until the stain is fully lifted. If the fabric is soft, don’t tamp – just keep soaking and lifting the stain with a dry spotter-dampened pad. Alternatively, you can also lubricate the area with mineral oil or lard, tamp to loosen the stain, and flush or wash the area with dry cleaning solvent. Repeat lubricating and flushing the stained area until stain is gone. Let it dry. |
| 9. Medicinal Stains (Iodine, Penicillin, photo developer fluid, silver nitrate) | If it is an argyrol stain ONLY: Moisten an absorbent pad with 1 quart warm water and 1 tablespoon of enzyme product. Use this to cover the stain for 30 minutes while frequently changing the pad with one that’s freshly moistened with the same solution. Flush area with water. Proceed to Step 3. If it’s NOT an argyrol stain: Apply water using an absorbent pad or sponge. If it is not iodine: Apply tincture of iodine using medicine dropper – just enough to cover the entire stained area. Apply a mix of 1 teaspoon of sodium thiosulfate solution and ½ cup of water using a medicine dropper. Apply a couple drops of ammonia using a medicine dropper. Flush or wash area with water. |
10. Special Stains Require Special Attention
(acids, alkalis, ballpoint pen ink, black walnut, candle wax, chlorine, evergreen pitch or tree sap, grass, lipstick, mildew, mustard, pencil, perfume, rust, scorch, shellac, super glue, toner, unknown stains, white out, white shoe polish)
Due to their unique chemistry, these stains require their own specific treatment and removal methods.
| Acids | Apply water and ammonia using absorbent pad or sponge. Flush or wash area with water. Repeat steps 1 to 2 until stain is completely removed. Stronger acids are bound to cause permanent damage that you won’t be able to do anything about. |
| Alkalis | Apply vinegar solution using absorbent pad or sponge. Flush or wash area with water. Repeat steps 1 to 2 until stain is completely removed. Just like strong acids, strong alkalis can cause permanent, irreversible damage. |
| Ballpoint Pen Ink | Apply lukeward glycerine on stained area. Tamp on stained area if the fabric is strong. Blot and press hard with an absorbent pad moistened with glycerine. Flush or wash area with water. Apply mild detergent solution mixed with a few drops of ammonia on stained area. Repeat tamping if the fabric is strong. Flush or wash area with water. Apply chlorine bleach using a medicine dropper to remove remaining traces of the stain. REMOVE BLEACH AFTER 2 MINUTES: Flush or wash with water. Apply vinegar solution to remove all traces of chlorine. Any remaining chlorine bleach can cause further stains and damage the fabric. Flush or wash off vinegar solution with water. |
| Black Walnut | Apply water using sponge or absorbent pad. Apply detergent solution with drops of vinegar using a medicine dropper. Moisten an absorbent pad with the same solution and use it to cover the stained area for 5 minutes. Tamp stained area if the fabric is strong. Flush or wash area with water. Repeat this step until stain is gone. Apply chlorine bleach using a medicine dropper to remove remaining traces of the stain. REMOVE BLEACH AFTER 2 MINUTES: Flush or wash with water. Apply vinegar solution to remove all traces of chlorine. Any remaining chlorine bleach can cause further stains and damage the fabric. Flush or wash off vinegar solution with water. |
| Candle Wax | If possible, place either folded paper towels or ideally, blotting paper, on both sides of the stain. If not, place on top. Iron at low temperatures to melt the wax onto the paper. Replace papers and keep ironing until no wax is left. Apply dry cleaning solvent using a sponge. Apply chlorine bleach using a medicine dropper to remove remaining traces of the stain. REMOVE BLEACH AFTER 2 MINUTES: Flush or wash with water. Apply vinegar solution to remove all traces of chlorine. Any remaining chlorine bleach can cause further stains and damage the fabric. Flush or wash off vinegar solution with water. |
| Chlorine | Apply mixture of ½ cup of water and ¼ teaspoon color removers using a sponge or absorbent pad. Flush or wash area with water. |
| Evergreen Pitch or Tree Sap | Apply alcohol, petroleum jelly, or vegetable shortening using an absorbent pad of cloth. Use this pad to rub away the stain, but if the fabric is delicate, blot instead of rubbing. Wipe off the stain and grease using a paper towel. Flush or wash area with soap and water. Apply turpentine (ask your local hardware store) to remove remaining stain. Flush or wash area with soap and water. |
| Grass | Apply amyl acetate using a medicine dropper on the entire stain. Blot using a clean absorbent pad. Apply detergent solution or enzyme product using a medicine dropper. Blot using a clean absorbent pad. Flush or wash area with water. Apply ammonia solution using a medicine dropper. Blot using a clean absorbent pad. Flush or wash area with water. Apply vinegar solution using a medicine dropper. Blot using a clean absorbent pad. Flush or wash area with water. Apply alcohol using sponge or absorbent pad. Use this pad to blot the area. Flush or wash area with water. Apply chlorine bleach using a medicine dropper to remove remaining traces of the stain. REMOVE BLEACH AFTER 2 MINUTES: Flush or wash with water. Apply vinegar solution to remove all traces of chlorine. Any remaining chlorine bleach can cause further stains and damage the fabric. Flush or wash off vinegar solution with water. |
| Lipstick | Apply paint, oil, and grease remover or dry cleaning solvent using an absorbent pad. Use this pad to blot the stained area, being careful not to spread the stain further (lipstick spreads easily). Apply detergent solution with a few drops of ammonia using a medicine dropper. Tamp the stained area if fabric is strong. Blot using a clean absorbent pad. Flush or wash area with water. Apply alcohol using sponge or absorbent pad. Apply chlorine bleach using a medicine dropper to remove remaining traces of the stain. REMOVE BLEACH AFTER 2 MINUTES: Flush or wash with water. Apply vinegar solution to remove all traces of chlorine. Any remaining chlorine bleach can cause further stains and damage the fabric. Flush or wash off vinegar solution with water. |
| Mildew | Mildew requires complete elimination in order for it not to spread. Clean well outside the visible stained area to ensure that every trace is taken care of. Apply enzyme product using a medicine dropper. Blot using a clean absorbent pad. Moisten another absorbent pad with enzyme product solution and use it to cover the stain for 30 minutes. Flush or wash area with water. Apply detergent solution with a few drops of vinegar using a medicine dropper. Blot area using a clean absorbent pad. Flush or wash area with water. Apply alcohol using absorbent pad. Use this pad to blot the area. Flush or wash the area with alcohol. Apply chlorine bleach using a medicine dropper to remove remaining traces of the stain. REMOVE BLEACH AFTER 2 MINUTES: Flush or wash with water. Apply vinegar solution to remove all traces of chlorine. Any remaining chlorine bleach can cause further stains and damage the fabric. Flush or wash off vinegar solution with water. BLEACHING IS A MUST when it comes to mildew stains. Completely erase all traces of mildew to minimize the chances of it coming back. Lightly spray vinegar solution or water and denatured alcohol solution on the area to kill remaining mildew. |
| Mustard | Use a dull knife or whatever clean and dull scraping tool is available to remove excess mustard. Apply detergent solution using medicine dropper. Blot using clean absorbent pad. Apply vinegar solution using medicine dropper. Blot using clean absorbent pad. Apply enzyme product solution using medicine dropper. Blot using clean absorbent pad. Flush or wash area with water. Apply chlorine bleach using a medicine dropper to remove remaining traces of the stain. REMOVE BLEACH AFTER 2 MINUTES: Flush or wash with water. Apply vinegar solution to remove all traces of chlorine. Any remaining chlorine bleach can cause further stains and damage the fabric. Flush or wash off vinegar solution with water. |
| Pencil | Use an eraser to get rid of as much of the stain as possible. Flush or wash area with dry cleaning solvent. Apply mineral oil or dry spotter to lubricate the stained area. Flush or wash area with dry cleaning solvent. Moisten an absorbent pad with dry spotter. Use this to cover the area for 30 minutes. Flush or wash area with dry cleaning solvent. Apply detergent solution with a few drops of ammonia using medicine dropper. Tamp stained arae if fabric is strong. Flush or wash area with water. |
| Perfume | Flush or wash area with water. Apply detergent solution using medicine dropper. Tamp stained area if fabric is strong. Moisten absorbent pad with alcohol. Let it stay on the stain and lift it. Just change the pad with a freshly alcohol-moistened one when the previous pad can’t lift any more of the stain. Flush or wash area with water. |
| Rust | WARNING: The methods for rust removal below can damage your Onebed mattress. Small Rust Stains: Apply water on the stained area. Apply hydrofluoric acid (ask your local grocery, supermarket, or department store; follow directions indicated on the label) WARNING: USE PLASTIC/RUBBER GLOVES WHEN HANDLING HYDROFLUORIC ACID as it is extremely corrosive to human skin. Flush or wash the area with water. Let it dry. Large Rust Stains: Method A: Oxalic Acid Mix 1 cup of water with 1 tablespoon of oxalic acid. Either heat up the solution to 160-180F or use hot water as you mix it. Place and spread the stained area of the fabric over a bowl or bucket. Pour the hot oxalic acid solution over every part of the stained area on the fabric. Keep mixing more of the solution and repeating this treatment until the stain is gone. Flush or wash the entire fabric very thoroughly with a solution of 1 cup of water per several drops of ammonia. Let it dry. Method B: RoVer Rust Remover Follow the instructions on the label of a bottle of RoVer. Put the stained fabric in the washing machine with laundry detergent and RoVer Rust Remover. Remember to test RoVer in a small, concealed area of the fabric first to see if there are adverse effects. |
| Scorch | WARNING: Burned or scorched fabrics will be more vulnerable to damage. Further damage may be caused by applying stain removal methods. Apply 3% hydrogen peroxide using a medicine dropper. Apply 1 to 2 drops of ammonia using a medicine dropper. Wait for several minutes up to an hour. Use medicine dropper to keep the area moist with both ammonia and 3% hydrogen peroxide. Flush or wash area with water. |
| Shellac | Apply dry-cleaning solvent using sponge or absorbent pad. Apply mineral oil or dry spotter to lubricate the stain. Flush or wash the area with dry cleaning solvent. Apply alcohol using medicine dropper. Tamp stained area if fabric is strong. Flush or wash area with alcohol. |
| Superglue | Apply cold water and soak the stained area. Tamp stained area. Keep doing steps 1 and 2 to completely dissolve and soften the glue. Flush or wash area with water. |
| Toner | Apply laundry detergent using sponge or absorbent pad. Tamp stained area. Launder fabric with cold water. |
| Unknown Stains | It’s much more important to pretest cleaning agents when you don’t know the origin of the stain. If this is the case, begin by using the methods least likely to cause damage to the fabric or mattress: Apply dry cleaning solvent or alcohol using sponge or absorbent pad. Apply dry spotter using absorbent pad. Tamp stained area if fabric is strong. Flush or wash area with dry cleaning solvent or alcohol. Repeat this step until stain is removed. Apply amyl acetate using absorbent pad. Tamp stained area if fabric is strong. Flush or wash area with dry cleaning solvent or alcohol. Apply detergent solution with a few drops of ammonia using medicine dropper. Tamp stained area if fabric is strong enough. Flush or wash area with water. Let it dry. Apply alcohol using absorbent pad. Let it dry. Apply chlorine bleach using a medicine dropper to remove remaining traces of the stain. REMOVE BLEACH AFTER 2 MINUTES: Flush or wash with water. Apply vinegar solution to remove all traces of chlorine. Any remaining chlorine bleach can cause further stains and damage the fabric. Flush or wash off vinegar solution with water. |
| White Out | Appy acetone using sponge or absorbent pad. Do not do this if fabric contains acetate (Onebed does not). Tamp stained area. Flush or wash area with alcohol. |
| White Shoe Polish | Apply dry cleaning solvent with sponge or absorbent pad. Apply dry spotter using medicine dropper. Tamp stained area if fabric is strong. Flush or wash area with dry cleaning solvent. Apply amyl acetate using sponge or absorbent pad. Tamp stained area if fabric is strong. Flush or wash area with dry cleaning solvent. Apply a few drops of vinegar using medicine dropper. Tamp stained area if fabric is strong. Flush or wash area with water. |

Depending on the stain and the nature of the fabric you’re washing, you may need to repeat some stain removal methods to completely get rid of stubborn stains.
If this starts to get frustrating, just remember that if you do the above recommended stain removal methods correctly, the results will be well worth your best efforts.
11. KNOW WHEN TO GIVE UP: Some Stains are Near-Impossible to Remove
This includes stains created by:
- Stomach acid (yes, vomit)
- Toilet bowl cleaners
- Tile grout cleaners
- Corn and callous removers
- Foot care preparations
- Acne medications and skin creams (benzoyl peroxide)
- Age creams
- Pet shampoos
- Strong alkalis (drain and oven cleaners)
- Chlorine
- Chlorine bleach
- Swimming pool chemicals
- Mildew stoppers
- Dimethylsulfoxide (arthritis medications)
- Germicides
- Disinfectants
- Diazinon and Orthene (pesticides)
- Plant food
- Fertilizers
- Old urine stains
- Epoxy cement
- Furniture stain
- Black walnut
- Certain yellow dyes
If you suspect that any of the above is the cause of an especially stubborn stain, give up, move on, and focus on deodorizing and disinfecting your mattress.
V. ODORS, DUST MITES, and BED BUGS: HOW TO DEODORIZE AND DISINFECT YOUR MATTRESS
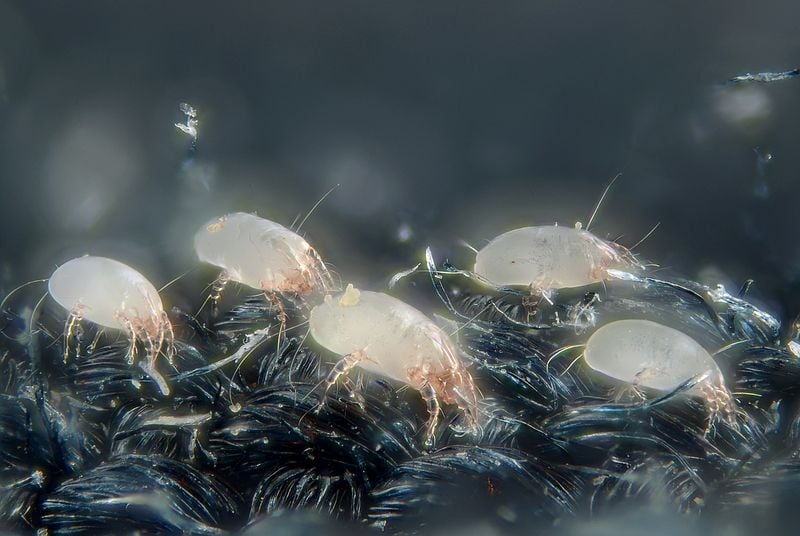
Plenty of different factors can cause your mattress to develop disgusting odors.
Here are some steps you can take to deal with any and all odor-causing foreign invaders that have made themselves comfortable in and on your mattress:
1. NEUTRALIZE ALL STAINS
Depending on their chemical composition, stains that have been left untreated can be the cause of not just bad odors, but also the development of mold, mildew, and bacteria. Whatever odor-causing stain has left its mark on your mattress can be dealt with using the information and methods described in chapters 2 to 4. (link to beginning of Chapter 2)
2. SPRINKLE BAKING SODA and VACUUM YOUR MATTRESS

This is to clean up accumulated dirt and debris on and inside your mattress. We’ve discussed in chapter 1 why Baking Soda is Your Mattress’ best friend: it’s simply fantastic at soaking up oils, dirt, and odors. Combined with using a clean vacuum cleaner, sprinkling baking soda can be a very easy and effective way to clean and deodorize a stinky mattress. Here’s what to do:
- Strip your bed naked and lie it flat on a clean floor/bed base.
- Sprinkle baking soda all over your bed using a sifter or use your hands to spread it evenly. Make sure to cover all areas of the surface. Let the baking soda stay there for 1 hour.
- Using a clean upholstery attachment, vacuum the entire surface of your mattress, including the sides.
- Flip the mattress, and repeat steps b and c for the other side.
- If you suspect that there’s mildew, clean up or replace the dust receptacle right after vacuuming to stop the mildew from spreading.
3. SPRAY YOUR MATTRESS WITH DISINFECTANT
Not all odor-causing factors are visible. Even if the visible dirt and stains are gone, there might still be some mildew and bacteria holding on to your mattress for dear life. Show these germs who’s boss. Fully disinfect your mattress by spraying its entire surface area with any of these solutions:
- Vinegar (May be diluted by combining ⅔ cup of water and ⅓ cup of vinegar; you can also add vinegar to detergent solution.)
- Lemon Juice (Almost the same acidity as vinegar without the chemistry-classroom smell.)
- Rubbing or Denatured Alcohol
- Commercial disinfectant sprays like Lysol or Glen 20
- Organic disinfectants
4. ENSURE THAT YOUR MATTRESS GETS DRY
After going through stain-removal and disinfection treatments, your mattress might be carrying a considerable amount of moisture. Air out your mattress. If possible, leave it in the sun for a 2 or more hours. Use fans if the sun isn’t out. Do everything you can to ensure that your mattress gets completely dry after any treatments.
5. SPRAY YOUR CHOICE OF SCENTS
Assuming you’ve followed Steps 1 to 4 properly, you’ll end up with a clean mattress. Now’s the time to spray it with your preferred scents and oils. We recommend eucalyptus oil, which not only smells awesome, but also has properties that are positively deadly to dust mites.
Allergy Causing VS Blood-Sucking: The Difference Between Dust Mites and Bed Bugs
Dust Mites
What are they?
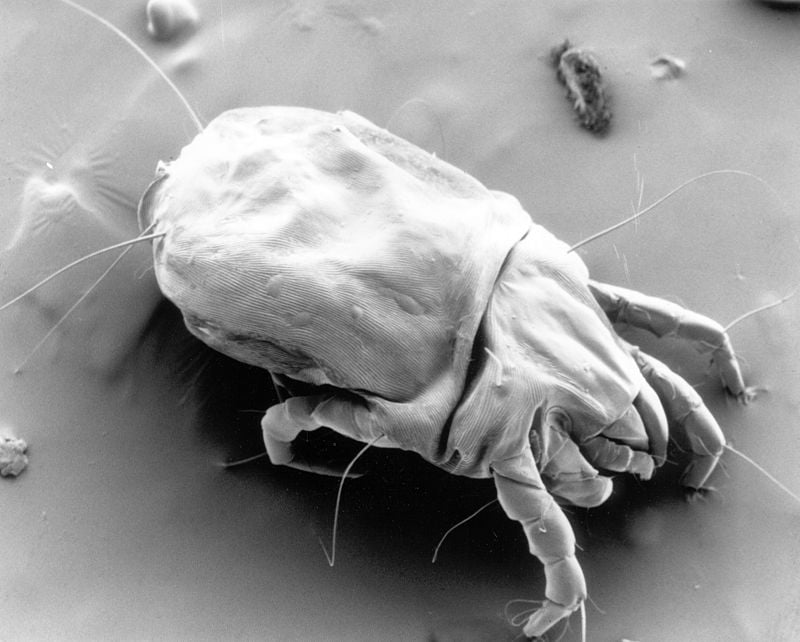
Dust mites are eight-legged creatures that are too small to be seen by the naked eye. They feed off the skin cells that we shed in bed every night, and enjoy warm, moist environments, which is why they love our beds.
The dead carcasses and waste that they leave behind are small enough for us to inhale, which can trigger and exacerbate asthma and allergic reactions.
They’re vulnerable to extreme heat, extreme cold, vacuuming, and poison.
Home Detection Methods
- People who are allergic to dust mites may suffer from rashes or encounter difficulty breathing when staying in places with a high dust mite concentration for prolonged periods of time.
- Use clear tape to collect a dust sample from your mattress, bed base, and other areas of your bedroom. Examine this sample using a cheap 10x magnification microscope to see the little eight-legged creeps. You might also see their feces, which look like tiny brown rectangular pellets when viewed under the microscope.
- Get yourself tested for dust mite allergy. It’s generally a good idea to know how vulnerable you are to dust mites, especially if you live in a humid part of the world.
- Don’t panic. Dust mites are everywhere. What we can do is control their numbers to decrease exposure, and there are many ways to do that.
Recommended Treatment:
- Follow the abovementioned steps for vacuuming your mattress, except also ensure that you use a HEPA filter equipped vacuum cleaner. These powerful filters are thorough enough to trap dust mites and stop them from spreading.
- Alternatively, before vacuuming a mattress, you can seal it in a mattress encasement for 48 hours to kill all dust mites and force them to the surface – after which you can vacuum them all up much more easily.
- Follow the abovementioned steps for spraying your mattress with disinfectant.
- Follow the abovementioned steps for completely drying the mattress in the sun and/or allowing it to air out.
- Spray eucalyptus oil on mattress before putting on fresh bed sheets.
- Spray eucalyptus oil on different corners of your bedroom as well as in adjacent rooms.
- Wash contaminated sheets/clothes/soft toys with several drops of eucalyptus oil at a high temperature.
- Either wash pillows at high temperature or seal them in plastic bags and leave in the freezer for 48 hours.
- Clean your entire bedroom using a vacuum that’s equipped with a HEPA filter to trap dust mites and prevent them from spreading.
- Spray preferred scents/oils on mattress before putting on bed sheets.
Prevention Tips:
- Clean your mattress and your bedroom using a vacuum with a HEPA filter every fortnight.
- Use a HEPA air filter/purifier for your bedroom, and if possible, for your entire home. This is a great investment if you or someone you love is highly allergic to dust mites.
- Use a dehumidifier to decrease the moisture in your bedroom and make it less hospitable to dust mites.
Bed Bugs
What are they?
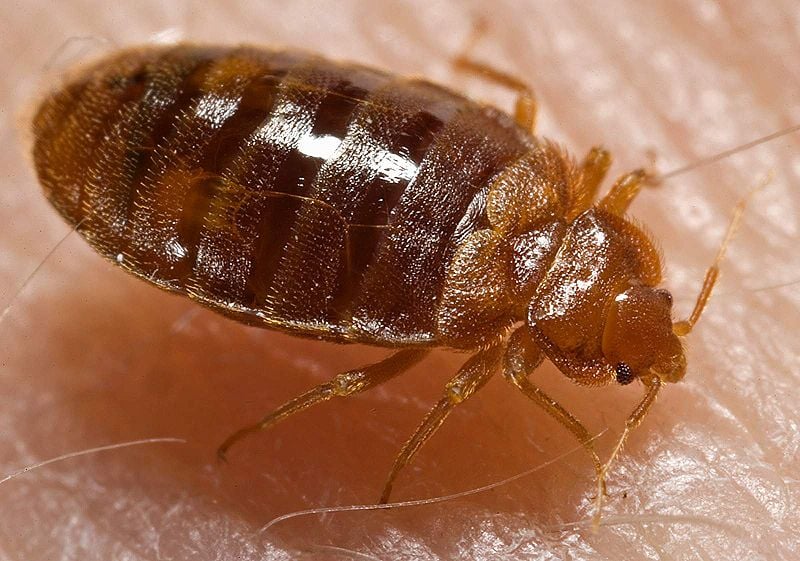
Bed bugs are reddish-brown insects big enough to be seen (5mm long) but also small enough to hide in the deep corners and crevasses of your mattress.
Although experts have found over 28 disease pathogens in bed bugs, there’s never been any record of any disease transferring from them to us, which is why they aren’t considered a serious disease threat.
They mostly cause small, irritating, and inflamed welts where they bite, which can sometimes exacerbate existing skin conditions.
They’re vulnerable to extreme heat, vacuuming, and poison.
Home Detection Methods:
- Using mattress encasements is the bed way to detect bed bugs. After some time inside the mattress, the bed bugs are drawn out into the smooth surface of the encasement, ready to be removed, poisoned, or vacuumed.
- Visual inspections require no special equipment (apart from a magnifying glass and a flashlight), but it’s also the hardest way to detect stealthy reddish-brown bed bugs and their eggs. You should also look for black and/or brown feces stains on your mattress and sheets.
- Use passive interception devices that trap bed bugs 24/7 as they travel through the natural terrain of your bedroom. These are usually placed under the legs of beds and other bedroom furniture.
Recommended Treatment:
- Keep all bed sheets, pillow cases, linens, and all other possibly contaminated fabrics (including curtains, soft toys, and clothing near the bed) inside trash bags. Don’t open these bags until you’re about to put the contents in the wash.
- Your primary goal here is to contain the infestation. Take all steps with containment in mind: use mattress encasements, plastic bags, and only do open treatment in already-contaminated rooms.
- Wash contaminated fabrics at a high temperature.
- Use a stiff or strong brush to remove all visible eggs and bed bugs on your mattress.
- Follow the abovementioned steps for treating stains (bed bug feces stains count as Protein and Starch stains).
- Spray all parts of your mattress with bed bug spray. Whenever using this type of spray, ensure that the room is well-ventilated and always follow the instructions on the label.
- Follow the abovementioned steps for vacuuming your mattress, except use a back and forth motion to scrub in between cracks and get as many bugs and eggs as possible.
- IMPORTANT: It is generally a good idea to have a vacuum cleaner dedicated solely to bed bugs so there’s no chance of them spreading. Don’t use this vacuum cleaner for anything else except cleaning up bed bug infestations.
- Follow the abovementioned steps for completely drying the mattress in the sun or allowing it to air out.
- Spray bed bug spray on your entire bedroom and its adjacent rooms – anywhere the little buggers can hide.
- Allow everything to dry.
- Vacuum your entire bedroom, especially carpets, and the base of your bed.
- Spray preferred scents/oils on mattress before putting on bed sheets.
- Dispose of the vacuum bag or receptacle by spraying it with bed bug spray and placing it in an airtight container before throwing it in a trash bin outside the house. Spray the inside and outside of the trash bin with bed bug spray.
Prevention Tips:
- Cover your mattress with a fresh bed bug mattress encasement before making the bed. This is a good way to deal with the bed bugs that may still be hiding in your mattress as well as to prevent any future infestations.
- Apply bed bug spray to your mattress (if not encased) and bedroom every week for 1 month, just to ensure that the bugs and eggs are gone.
- Spray bed bug repellent or ordinary rubbing alcohol on and around your mattress to discourage recurring infestations.
- Place your bed bug-dedicated vacuum cleaner in an airtight container to prevent any recurring infestations.
- If the bed bugs come back, even after all of the above treatment options have been exhausted, it’s time to call your local bed bug professionals.
VI. ALTERNATIVE MATTRESS CLEANING SOLUTIONS: HOW TO STEAM-CLEAN A MATTRESS

Why Steam-Clean Your Mattress?
While steam-cleaning requires massive use of your Mattress’ Worst Enemy, Moisture, it’s also a very effective mattress cleaning method that can:
- Eliminate mold, mildew, bacteria, bed bugs, and dust mites.
- Loosen/Wash-off stubborn old stains.
- Deep-clean your mattress down to the core.
Is it Safe to Steam-Clean Your Mattress?
Check the label for the answer. Some foam and cotton mattresses are safe for steam-cleaning, some are not.
When it comes to potentially damaging cleaning treatments, the manufacturer knows best. For instance: DO NOT STEAM-CLEAN YOUR ONEBED.
Onebed’s top layers are made of dunlop latex and memory foam.
The extreme heat from steam-cleaning can damage the foams and the structural integrity of the mattress, leaving you with a thoroughly clean but damaged bed.
Read Your Steam-Cleaner’s User Manual
The user manual will tell you how to safely set-up and use your steam-cleaner. Read it. You’re dealing with very high temperatures. Find out how to protect yourself from getting injured.
If you’re lucky, your user manual might even have info on which fabrics and materials should and should not be steam-cleaned.
From Vacuuming to Drying: How to Steam-Clean Your Mattress
Follow the abovementioned steps on How to Vacuum Your Mattress. Steam-cleaning only works when you’ve already removed most of the dirt and debris on your mattress via a thorough baking-soda-and-vacuum treatment. (link to Chapter 5: 2. SPRINKLE BAKING SODA AND VACUUM YOUR MATTRESS)
- USE SHORT BURSTS OF STEAM. Long bursts are not needed in order to kill dust mites, mildew, and bacteria. Short bursts will work just as well without fully soaking your mattress. It’s best to do this with the mattress leaning sturdily on a wall.
- USE REALLY HIGH TEMPERATURES AND LONG BURSTS OF STEAM ONLY FOR BED BUGS. Expose your mattress to temperatures above 120°F for about 20 minutes to completely kill bed bugs. Not ensuring the right temperature will mean that you’re just giving the bed bugs a warm bath.
- MAKE SURE TO STEAM-CLEAN EVERY SQUARE INCH OF YOUR MATTRESS’ SURFACE. Maximize the benefits of steam-cleaning by doing it right. Flip your mattress to steam-clean all areas.
- ENSURE THAT YOUR MATTRESS IS COMPLETELY DRY. Several hours in the open air and sun is the best way to do this. However, depending on how much you’ve soaked your mattress and how well it holds moisture, an entire afternoon of drying might not be enough to ensure that no moisture is left inside it. After a thorough steam-cleaning, give it a complete 48 HOURS to dry (sun, open air, hair dryer, electric fan, etc.) before you make the bed.
VII. BONUS ROUND: MATTRESS PROTECTION 101
Phew! That’s about every trick there is to know about cleaning your mattress.
All you need to know now is how to prevent having to do big and/or messy mattress clean-ups in the future.
Here are 13 things you can do to protect your mattress and keep it clean and comfy:
Cover Your Mattress With a Waterproof Protector
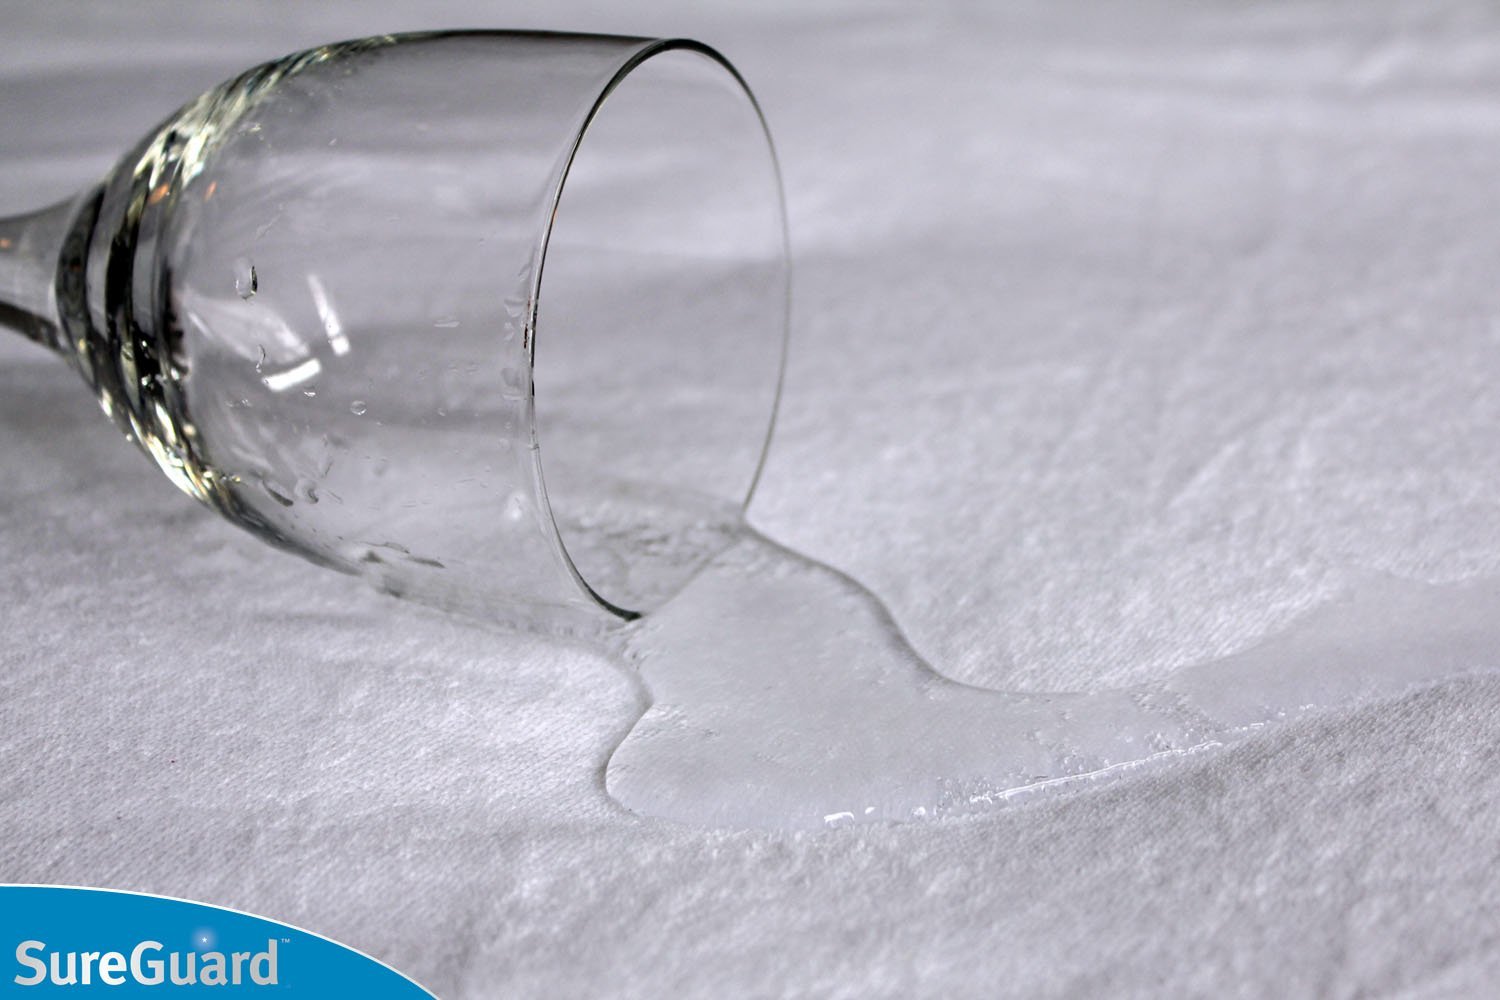
With one of these hugging your mattress, no stain can reach its foams, springs, and fabrics. It’s the simplest and cheapest way to keep the mattress itself clean.
Cover Your Mattress With a Bed Bug Mattress Encasement
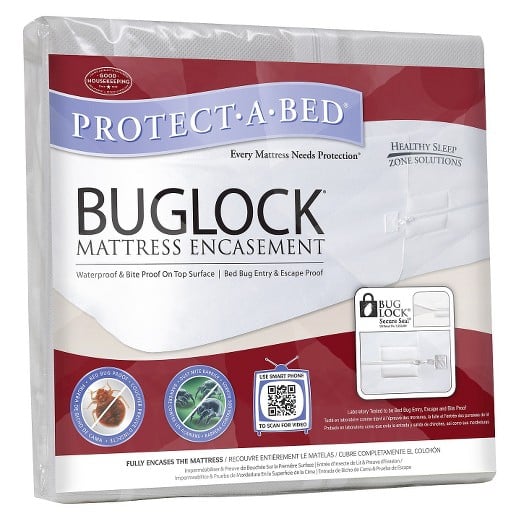
This is the ultimate way to prevent bed bugs from coming back. Make sure that the encasement stays effective by preventing it from being damaged by your bed’s rough and sharp edges.
Areas of your bed that may damage the encasement can be covered with felt tape or anything else that can neutralize the sharpness.
Install Room Air Purifiers Equipped with HEPA Filters
HEPA stands for high-efficiency particulate arrestance, which simply means that they’re the best damn air filters on the planet (removes 99.9% of all air-based contaminants).
Having a HEPA filter sift through the air in your bedroom is a good way to catch mold and mildew, allergens, airborne viruses, and asthma-triggering dust mites (before they even get to your bed).
Weekly Mattress Hygiene Habit: Replace All Sheets, Pads, and Covers
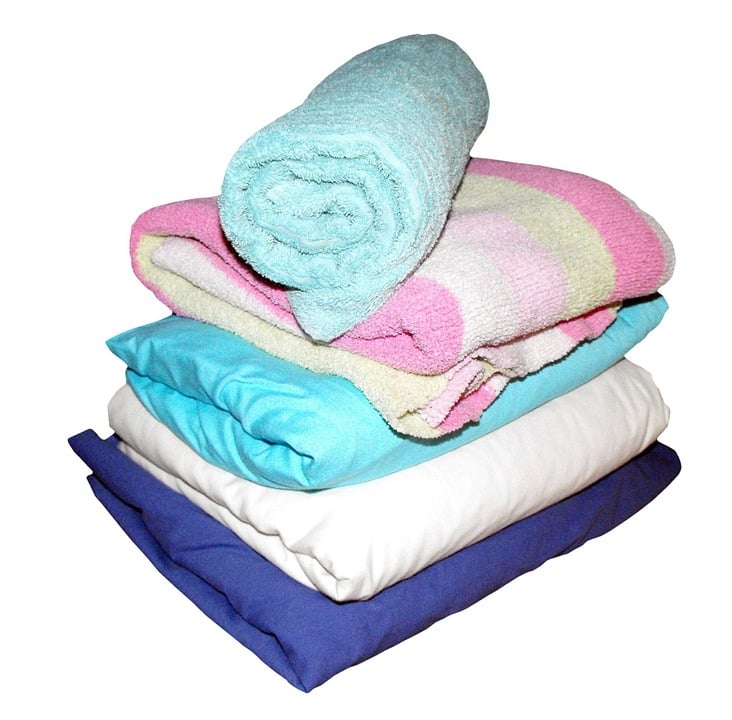
The cleaner your bed sheets and fabrics are, the cleaner your mattress stays. Look forward to sleeping on clean sheets on at least a weekly basis.
Monthly Mattress Hygiene Habit: Sprinkle Baking Soda and Vacuum Your Mattress
This is a good way to prevent the accumulation of dirt, oil, dust mites, and other debris on your mattress. Follow the above instructions for doing the baking-soda-and-vacuum treatment. Make sure to vacuum all sides.
Bring Less Food and Liquids in Bed for Less Cleaning Problems
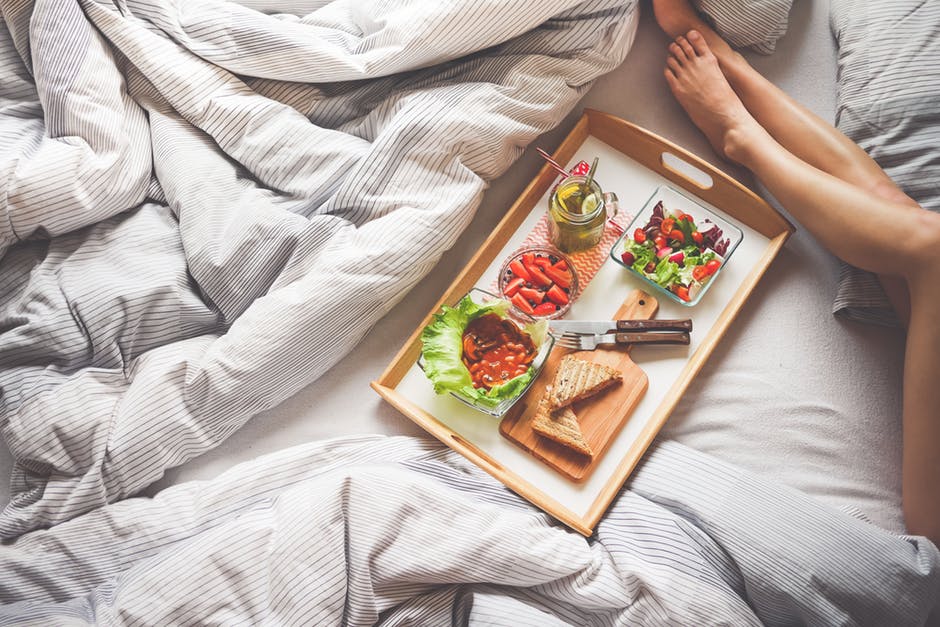
One of the most common reasons for people to Google “mattress cleaning” is eating and drinking in bed. It’s the easiest way to make a mess on your mattress.
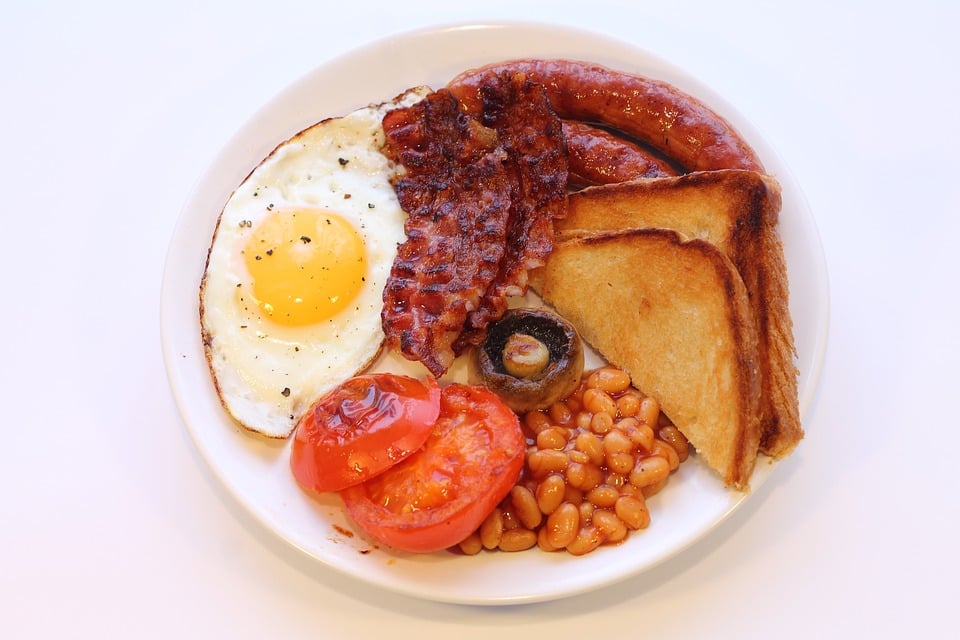
Either lessen the habit or stop doing it altogether. Those fun, cozy breakfasts-in-bed could also lead to stains as well as feed dust mites.
Daily Mattress Hygiene Habit: Keep the Bedroom as Clean as Possible
Sweep the floors, wipe down the furniture, and vacuum as necessary. The less dirt and debris there is in the bedroom, the less dirt and debris can get on the mattress.
Keep it Cool in the Bedroom: Lower Temperatures = Less Sweating
Wear loose, breathable clothing, use an air-conditioner, and do whatever you can to keep it cool. The less you sweat, the less hospitable your bed is to dust mites and bacteria.
Nightly Mattress Hygiene Habit: A Bath Before Bed Promotes Mattress Cleanliness
No matter how tired you are, try to always take at least a quick shower before going to bed. The less dirt, oils, and foreign contaminants you bring to bed, the better.
Reduce Dust Mite Exposure: Either Vacuum Your Carpet Weekly or Replace Carpeting with Hard Flooring
If you’re allergic to dust mites, your carpets need to be vacuumed (with a HEPA filter-equipped vacuum cleaner) every week. An even better move would be to get rid of the carpeting entirely.
Wall-to-wall carpeting, thick curtains, soft toys, and other fabrics lying around the bedroom are all potential homes for dust mites. Either clean them regularly or get them out of the bedroom.
Don’t Make your Bed in the Morning
Making your bed in the morning is a good way to preserve moisture and keep dust mites comfy and cozy. Stop doing this; instead, air out your bed when you’re not using it.
Just make your bed at night or in the afternoon, immediately after you get home. This will give you the satisfaction of sleeping in a freshly made bed while also giving your bed the chance to get some fresh air and sunlight – both lethal to dust mites.
Maintain a Well-Stocked Stain-Removal Kit
Every item and ingredient you need to handle any stain can be found on Chapter III.
We suggest you make a list of these items and stock up for future stains. You never know when the next one will happen.
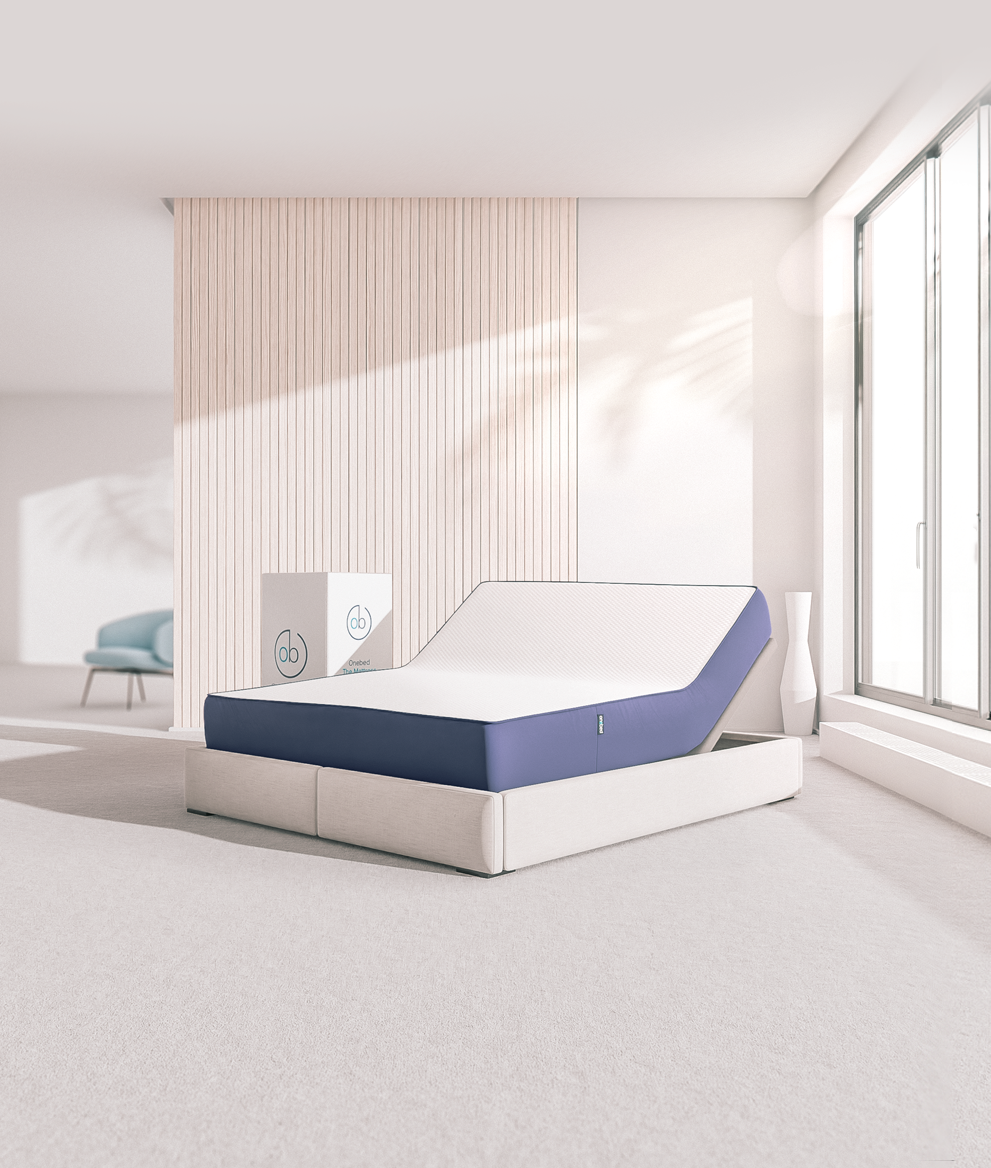
Bookmark/Share this Article!
Keep this guide handy for all your mattress cleaning needs.
Share this article and tag your friends who need to clean their mattresses.
REFERENCES:
http://www.aihw.gov.au/asthma/deaths/
http://www.huffingtonpost.ca/2016/08/22/bed-bacteria_n_11652476.html
http://pediaa.com/difference-between-sodium-bicarbonate-and-baking-soda/
http://www.ancientegypt.co.uk/mummies/story/page3.html
https://www.ncbi.nlm.nih.gov/pubmed/22316179
http://home.onehowto.com/article/what-happens-when-you-mix-bleach-and-ammonia-7512.html
http://www.cleanfax.com/carpet-care/how-to-remove-tough-tannin-stains/
http://www.cdc.gov/niosh/ershdb/emergencyresponsecard_29750024.html
http://www.drclean.co.uk/VidPages/Tamping.asp
https://www.europeanbedding.sg/blogs/articles/102507910-how-to-remove-dust-mites-from-a-mattress
http://www.melaleuca.com/ProductStore/Product?sku=4020
http://www.bedbugcentral.com/bedbugs101/mattress-and-box-spring-encasements
http://www.bedbugcentral.com/bedbugs101/what-should-i-do-my-bed
http://www.human.cornell.edu/fsad/outreach/upload/removingstains.pdf


